I went ahead with the installation for the rear door.
I couldn't wait anymore for part 2 of Livefour2day
For rear door there are 3 lights for original ambient light package. I only went with 2:
- Top fiber optic + LED module 63319213415.
- Door pocket fiber optic + LED module 63319242150.
For the door opener light is appears to be more difficult so i decided against it.
The removal of door panel is covered in other tutorials so i will explain the procedure after the door card is removed.
Why you need to start from rear? In the rear door you have the power you need for these lights. The wires are already there and after you connect them to your LEDs you have to connect a separate wire that will go into the front door. These wires are also connected to the main system and this means the the ambient lights will dim up/down using the dimmer for the dashboard lights.
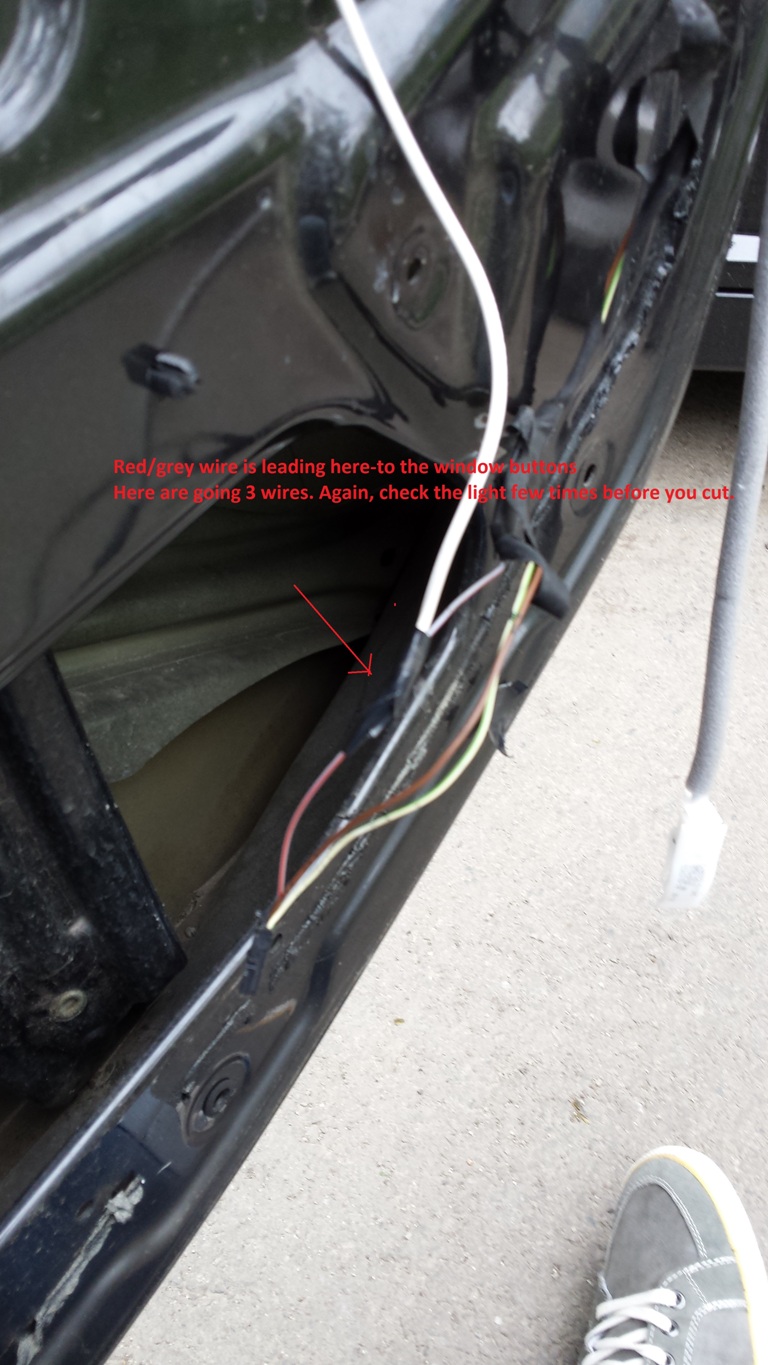
First find the wires. They are: Red/grey and white/brown.
Remove the rubber cover of the door harness wires. It has a torx 25 screw bolt holding it. You will find it near the door hinge. Reveal the main connector, open it up (into two) and after it is opened up you'll see that each wire will have one pin (male) that will go into the female pin of the door side connector.
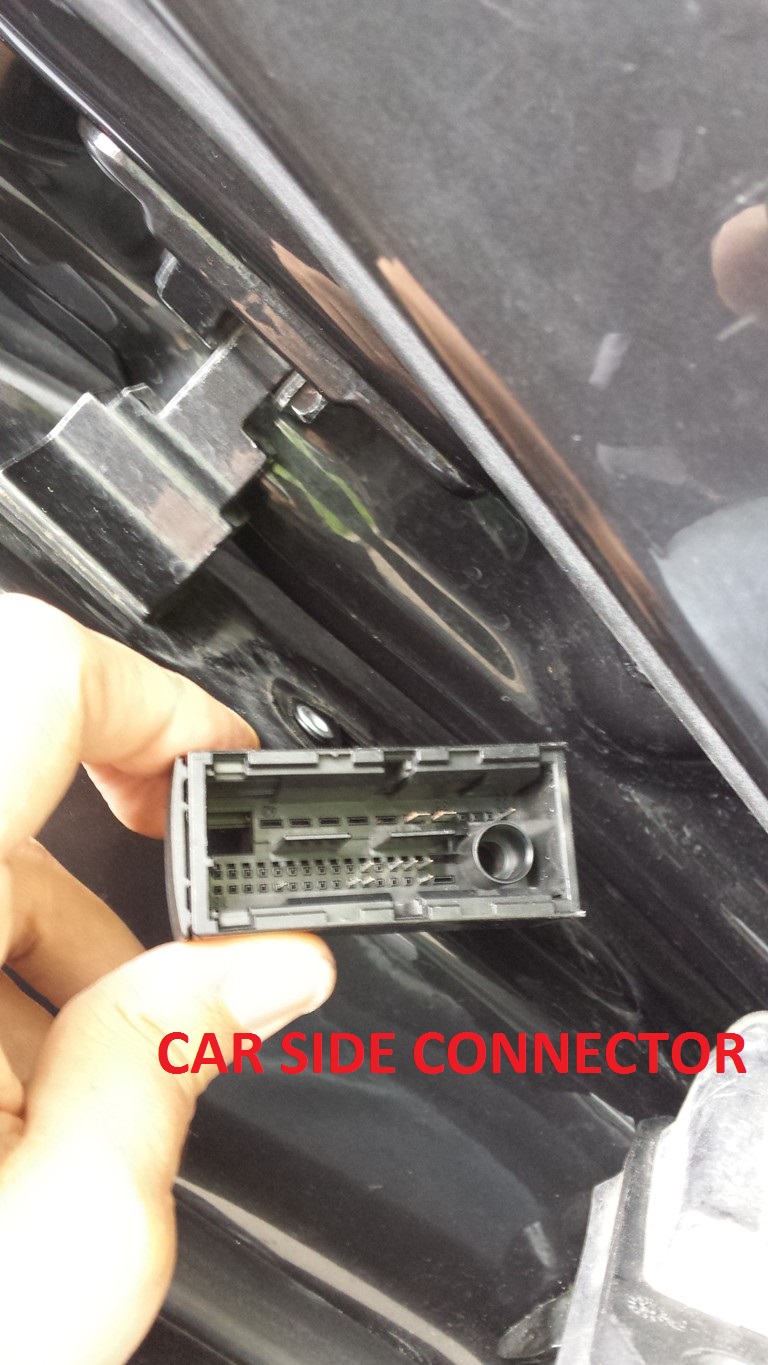
The 2 wires (Red/grey and white/brown) you can see into the car side connector.
Car side connector looks like this. See the pins where the 2 wires lead and now you can do your first test of you LED. Good luck.


Then, for the two wires, see what are the corresponding colors in the door side connector. It can be different. For my car it was different

Red/grey is going to window button. White/Brown is going to the window motor. What you need is to attach one wire to each of them. What i did is to cut them and attach the 2 freshly cut ends with my wire together. Tape this connection nicely and proceed. My wire is white.
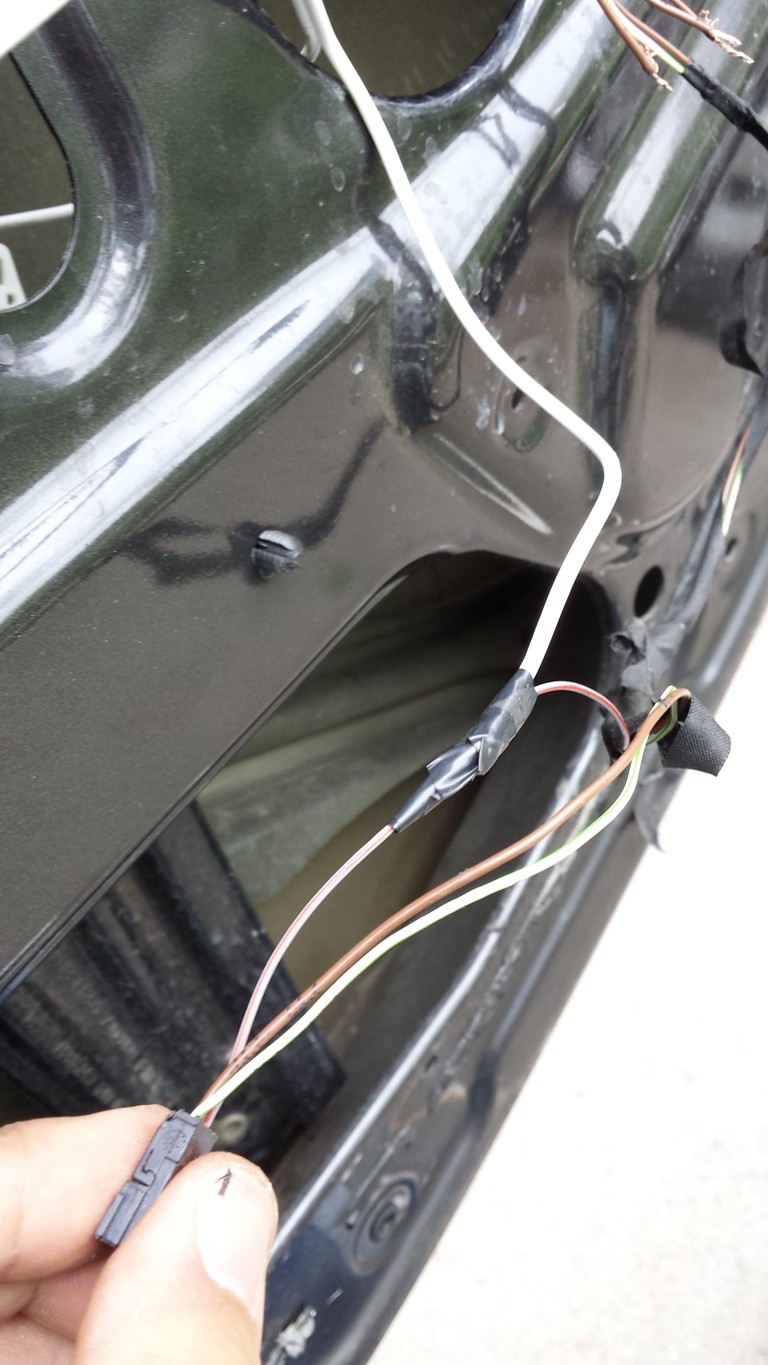

Now you have one good wire. Again test it. This wire has to go in 3 places. So you have to split it. One place is top fiber optic LED. Another place is door pocket fiber optic light. Last place is front door. Lead a wire (that will go into the front door) through the rubber.
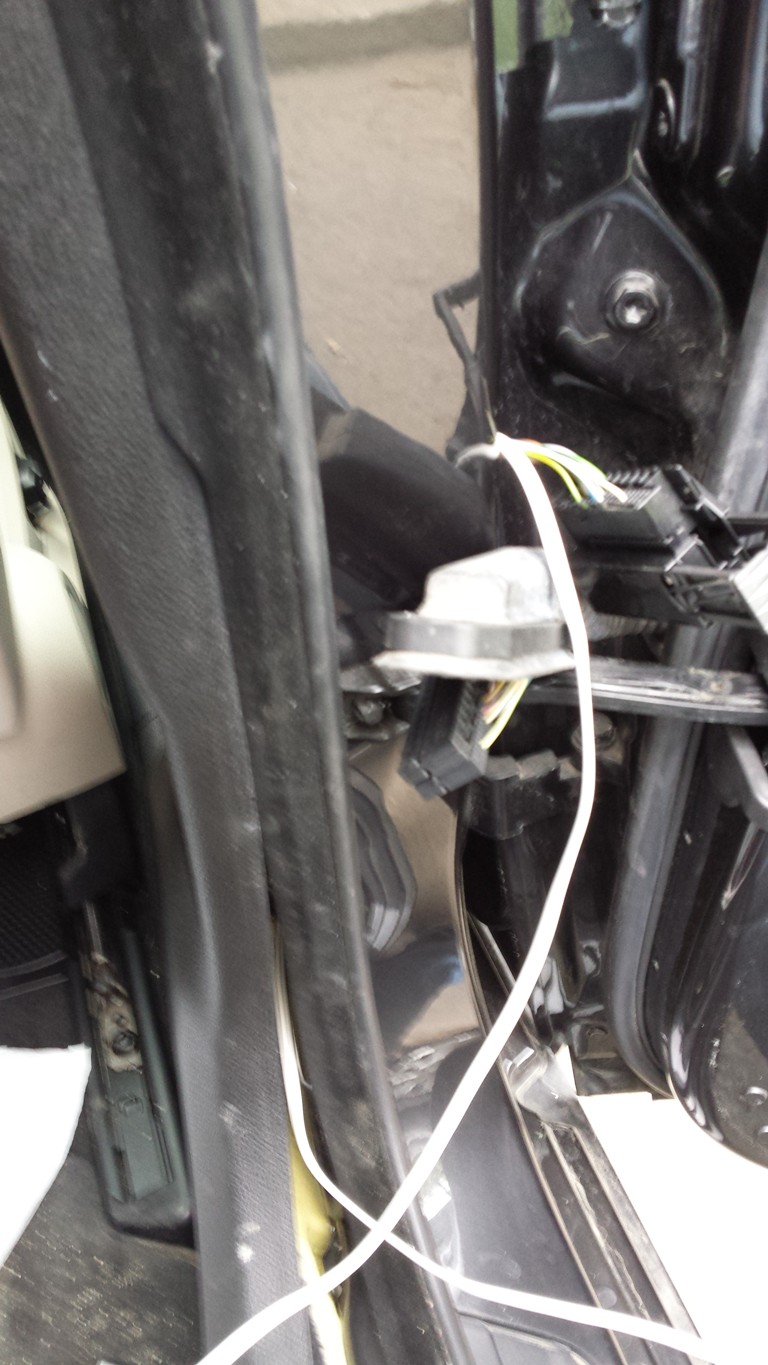
Cut 2 small wires (for top LED and door pocket LED) and with the one you already passed for the front door you are good to go. Now use a splitter to transform one into 3.

Now you have your 2 wires.
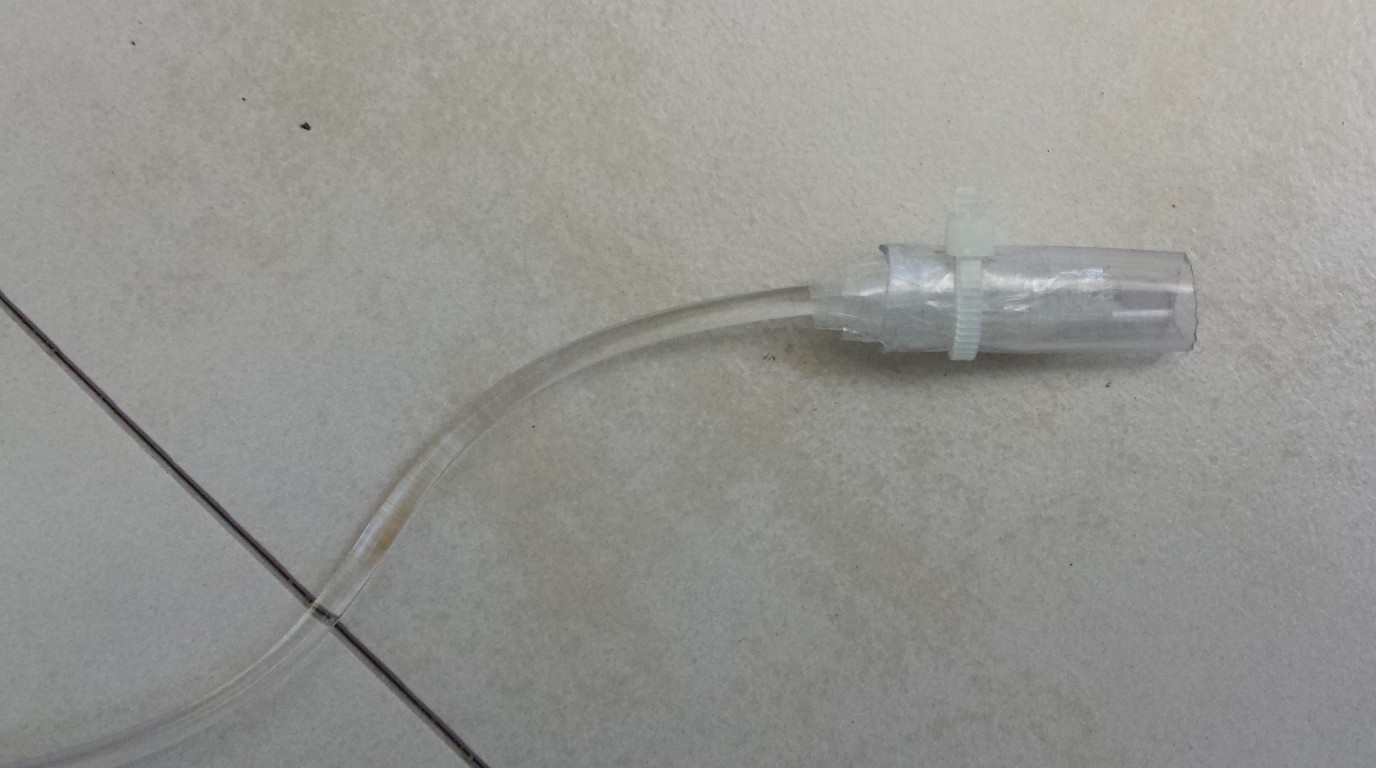
Prepare your Fiber optics and LEDs
This is how i did it. Since the end of the optic has to be facing the LED i scotch taped it in tube it as shown.
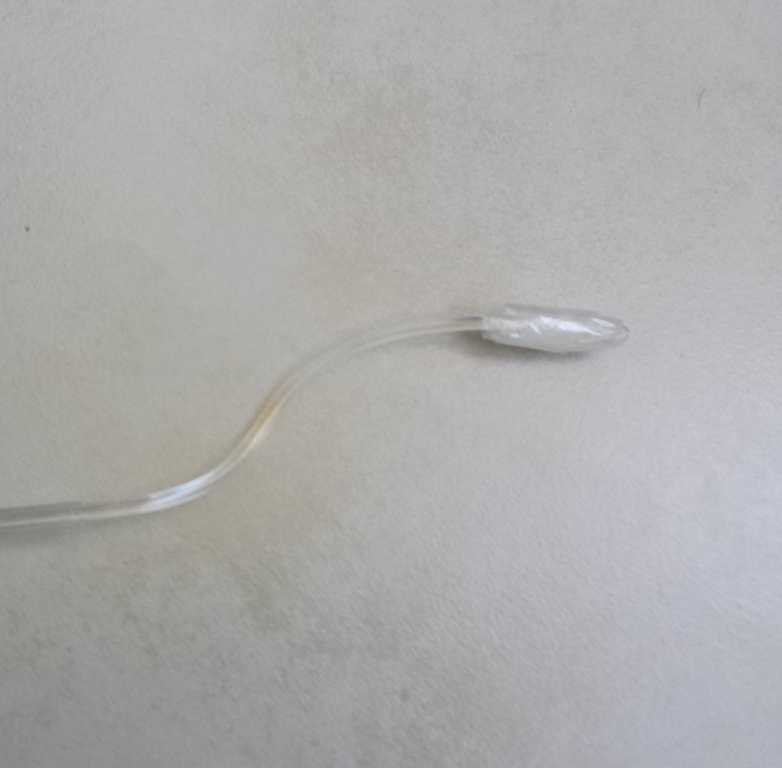


From this point i have no more photos. I will upload when a continue my retrofit.
Good luck