I just installed the M performance exhaust on my 2011 535i the other day, so decided to post some of the phone pics I took as well as write up the steps I used to install the exhaust.
This info is for reference only, follow at your own risk.
Tools:
Floor jack
Jackstands, wheel ramps, etc
Wheel chocks
Tailpipe cutting tool
File or Dremel
17 mm socket
Torque wrench
2mm allen wrench
Oil, spray lubricant, Wd40, etc
Loctite
Screw driver
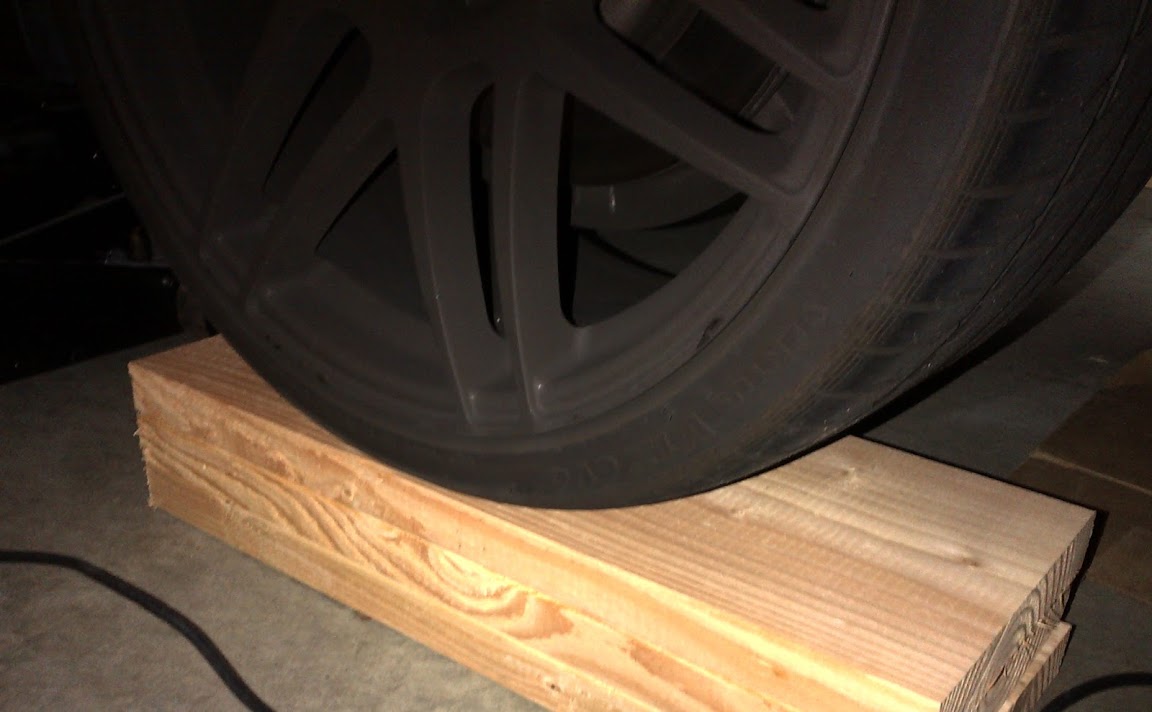
Chock the front wheels and raise the entire rear end. There are different ways to accomplish this from using the front side lift point then sliding jack stands under the side rear lift point to the debate of using the differential as a rear/central jack point. You will not need much space to work with, so I opted to use 3 1x8 boards under each rear wheel. Use a reverse logic or modified hockey puck adapter on the floor jack to prevent any damage to the jack up points.

I used the side rear points to lift one wheel at a time and then slid the boards under the tire.
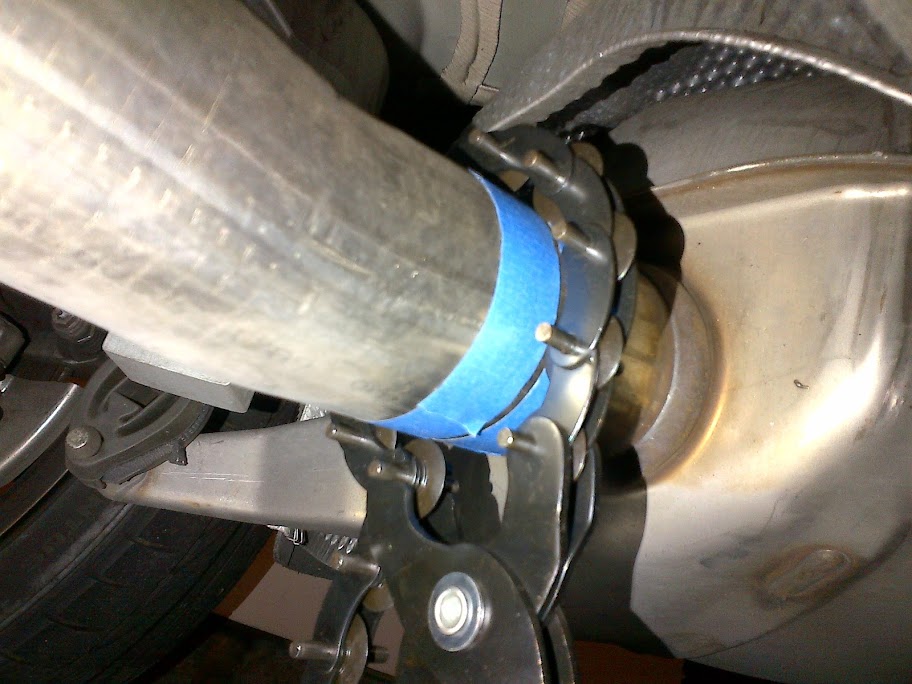
Decide what side you want to work on first. If you look at the car from the rear, I started on the right side. It is time to cut the pipe, to find the factory markings for the cut, look a few inches past the stock muffler for a dimple made at the factory. There will be 2 dimples on each side of the pipe, so I used some painters tape to get a straight cut mark.

To cut the factory piping, I used a chain style tailpipe cutter from my local Autozone. It’s free to borrow and makes a perfect cut around the circumference of the pipe.

If you wanted to use a power tool, a reciprocating saw with a good blade is a good option if you are familiar with controlling it to get a smooth cut. I oiled up the chain cutter with some motor oil, slipped the chain around the pipe and then kept the cutter taught by using the 4th link to hook up to the handle. Apply even pressure with your grip and then pivot the tool 120 degrees from left to right. Don't squeeze too tight, as you can dent the piping.
Half way through the cutting process, I had to readjust the cutting tool by moving up 1 link on the chain to continue to keep it taught as it started to make its way through the pipes sidewall. The tool I borrowed was new and very sharp still, so it only took about 5 minutes before the pipe was completely cut.

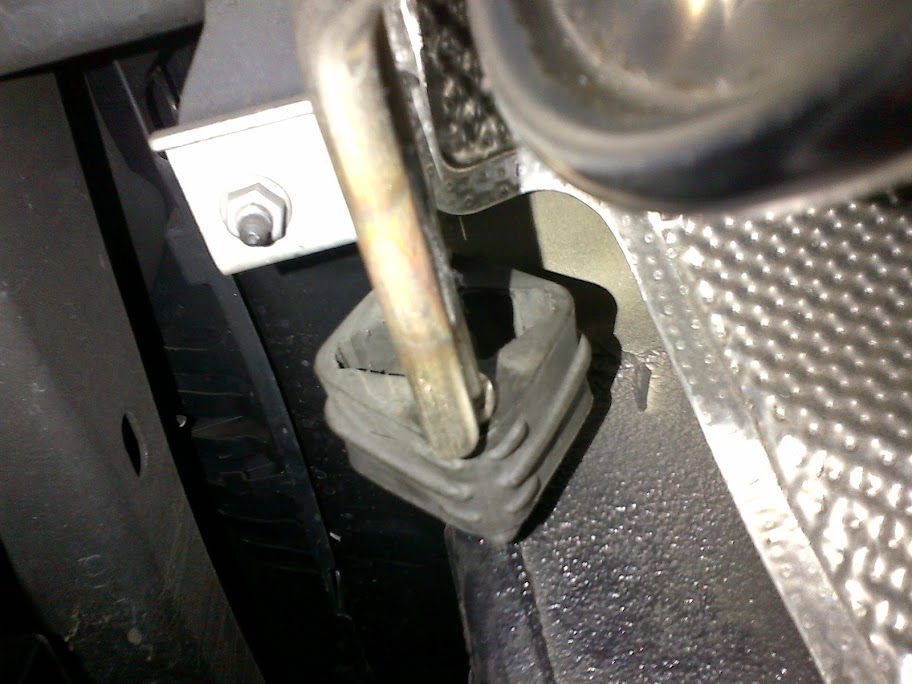
Now you can drop the exhaust from the hangers. I started with the hanger closest to the rear of the car. I sprayed a few drops of wd40 onto the muffler’s hanger and then used a small thin flat head screwdriver to pry up the rubber around the hangar to allow the oil to seep in. I did this on each end and then was able to easily slide the muffler’s hanger off.

Let the muffler sit on your chest or place something under the tip to protect it’s finish. Follow the same process for the final muffler hanger – spray some oil/lubricant and let it seep into the rubber hole/channel, then slide it off to free up and remove the stock exhaust.

Now that you have a clear view of the cut piping, take a file or Dremel to the cut to ensure it’s smooth and does not have any burs. The tool I used left a very clean and finished cut, so I had to do minimal cleanup.

Now slide on the clamp that came with the kit. I measured and marked the half way point of the clamp and then taped off a visual marking to help me ensure that the clamp was centered on the joint. Now you can slide the clamp towards the front to give you some space as you hang the new exhaust.


I cleaned up the M performance exhaust before mounting it. It had some dust and oil on it when it shipped from the factory, so I took a soft towel/microfiber to it.

I applied more WD40 on the rubber hangers and then hung the rear of the muffler first (tip side) then the piping side.

I then slid the clamp over the joint, matching it up to my center point. I decided to rotate the clamp so that the nuts were facing down closest to the sides of the car to allow for better access as I torqued it down as well as to maximize road clearance. Do not tighten the clamp down, you will have to align the exhaust first.

Slide the tip onto the rear of the exhaust to help visually center the tip and exhaust in the bumper cutout.

This is where it helps to have a second pair of hands…. I had someone hold the exhaust tip perfectly centered in the cutout (about a finger gap all around the cutout) while I was under the car tightening down the clamp.

Having the second set of hands to hold the exhaust in place eliminated the need to have to keep loosening and readjusting the exhaust, because as you tighten down on the clamp the exhaust will move… so I highly recommend this process.
With the clamp centered on the joint and positioned where I wanted it, I proceeded to tighten the nuts (alternating between each nut) and finished up with a torque wrench to get to 38-45NM. The clamp says 45MN, but various forum threads mention anywhere between 38-45NM should be fine.
Now that the exhaust is solidly mounted, you can rotate the tip's position to get the engraved M centered on the top as well as push in or extend out the tip to get the length of exposed tip you prefer. I wanted the tip pushed in and not hanging out past the bumper cutout. One of my tips did have a bit more side to side play than the other, so once again, I had to hold it centered while I tightened down the setscrew with a 2mm allen wrench and some Loctite to prevent it from backing out.
With one side down, repeat the above steps on the other side, it should go faster this time. Total time should be anywhere from 2-3 hours depending on how fast you work.

Hope this helps some of you out - Jo