UPDATE as of 10/13/13... See Additional pix after Step 13
This is my first time posting a DIY so please be gentle. i'll try t be as detail as possible and excuse me with the grammar issues if any.
First of all, you must have the M-sport rear bumper from what I gathered after reading numerous post. FYI, also, your F10 must be at least a 2012+ model as I believe the foot trunk release comfort access was not offered in MY2011.
Tools/materials needed:
- Dremel
- 5/16 socket wrench
- Velcro
- zip ties
- Blue painters tape (optional)
Step 1:
Lock your doors with the key fob and keep it away from the car so no electrical devices will be activated which will cause battery drainage. Next remove the diffuser
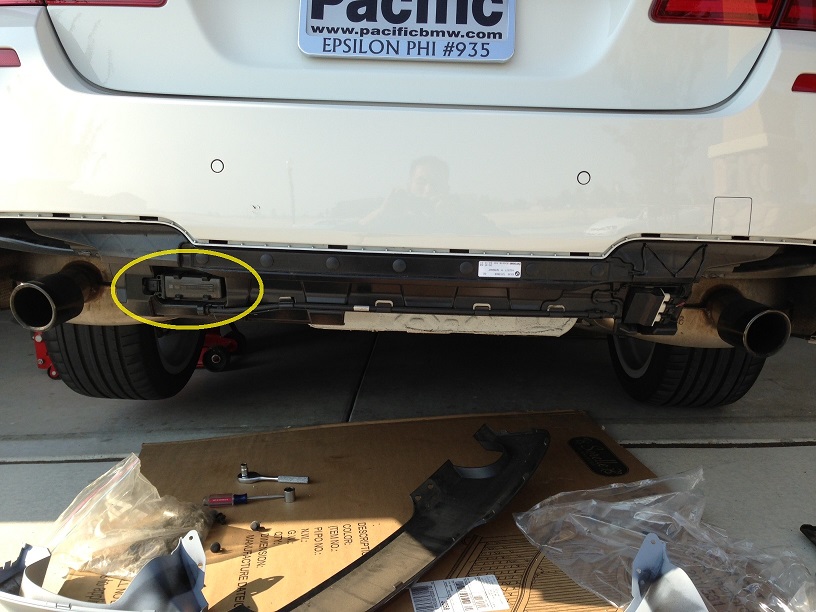
Step 2:
Take a look at what you have to deal with. The image below is the plastic piece which is already slightly trimmed on the bottom yet I haven't removed any of the comfort access module or TPMS module.

Step 3:
Locate Comfort Access Module

Step 4:
Locate Comfort Access Sensor

Step 5:
Locate Comfort Access Antenna

Step 6:
Locate TPMS module
Step 7:
Remove the TPMS modules from its holder along with the Comfort Access leave them hanging so you can start cutting the plastic. Also remove the Comfort access sensor by unplugging it and remove comfort access antenna by removing the 7 circular tabs. you'll have to pull very hard but be careful not to damage the antenna. This picture shows all the trimming done as necessary as I forgot to take a picture prior to it.

Step 8:
Start dremelling a long line across all the holes. See 2nd to the last picture
Step 9:
It should look something like this once you cut everything. Sorry for the dark picture as I was working on it at night.

Step 10:
Connect the middle insert diffuser with the big piece of the diffuser. try to insert it in after all the cutting from the plastic. You'll noticed snapping in the middle insert is a little difficult depending how well you cut the plastic. You may need to cut little rectangles for it to fit in properly as seen in my pix

Step 10:
Tape up the TMPS module on the metal rebar located behind the bumper. Secure it with painters blue tape or velcro and reconnect the wire to the module
Step 11:
Velcro the Comfort Access module on the section where the spare tire would be placed

Step 12:
Tape down the Comfort Access sensor towards the bottom of the middle insert of the diffuser then the comfort access antenna right above it. Connect the Comfort Access sensor and antenna wires back up the Comfort Access Module

Step 13:
snap the entire diffuser together and be sure to screw in the 3 metal screws that goes under the black middle insert and place zip ties in the pair of holes which overlap the big diffuser as the plastic push screw will no long keep both pieces together. If not, your entire diffuser will fly off on the road as I just experienced it today. SMH

Hope this helps and sorry for the next 2 images. I dunno how to delete them but you'll noticed one of the images shows how I was dremelling across the comfort access sensor area.
Good Luck and let me know if you need any help
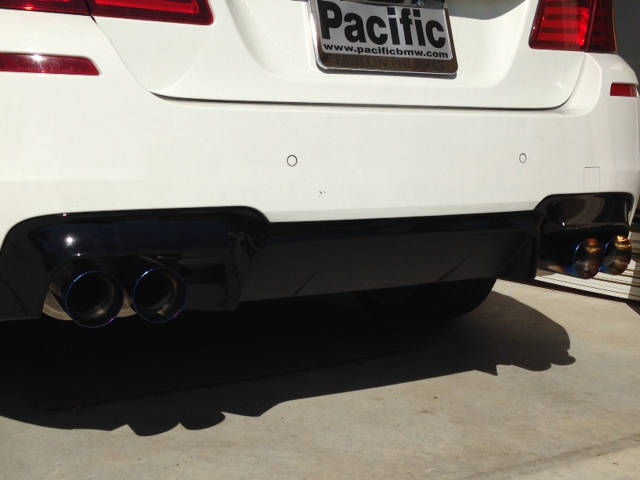
UPDATE as of 10/13/13......................................
Final product w/Litespeed exhaust. Sorry if its hard to see the angles of the diffuser but all I have to see is, Titanium tips on black diffuser is awesome!