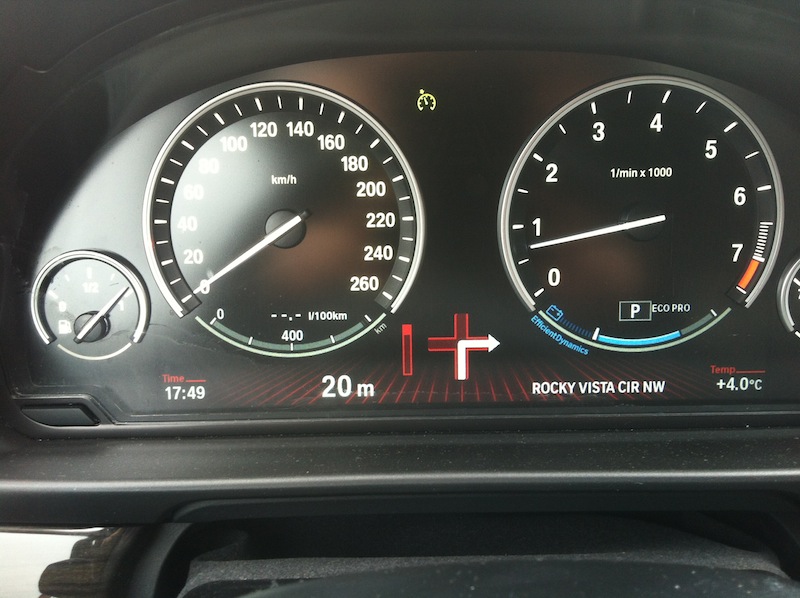
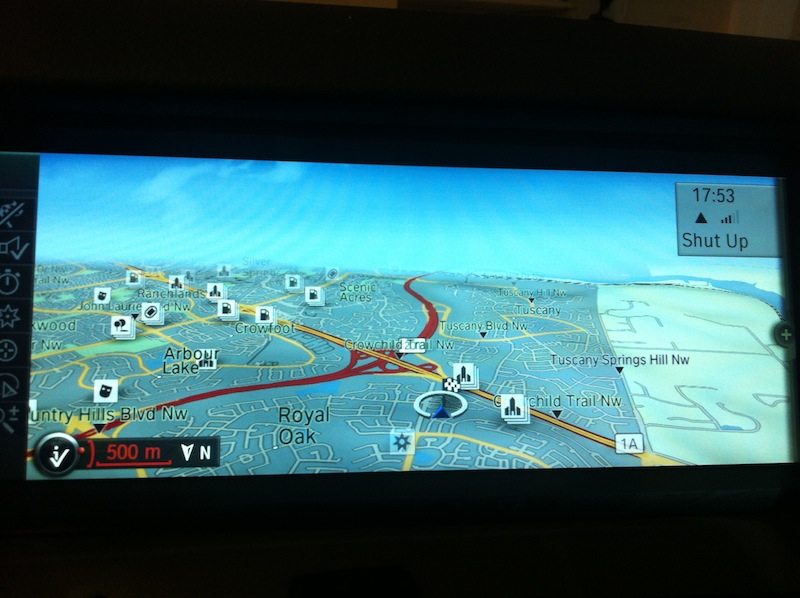
Finally the weather helped and I could retrofit the navigation and voice control system.
The whole process has 5 steps:
1- buying the parts. (I bought them from the
Bimmer-Retrofit)
2- Installing the antenna
3- Installing the glovebox USB
4- replacing screen and head unit
5- Programming the CIC by Bimmer-Retrofit
STEPS:
1- It was a fast and easy transaction with a very quick TNT shipment. The parts are all in very good shape as advertised. You will receive:
- 10.2" OEM screen
- OEM CIC unit
- ENET cable
- OEM USB plug and cable for glove box USB (If ordered)
- GPS antenna
2- There are different ways of dealing with the problem of having no antenna for your new navigation system:
- Some people don't care if they have to attach a square (1"x1") antenna on the dash and run the cable somehow to the back of CIC unit, with some parts of the cable visible. I AM NOT ONE OF THOSE.
I prefer to have all cables and extra parts invisible, If you are similar to me you have three options.
- Some people buy the shark fin antenna for GPS, detach the shark fin from the roof and change the inside antenna and run the cables. (I FOUND THIS VERY DIFFICULT AND WITH POSSIBLE ERRORS that may leave scratches and signed of the retrofit process on the car)
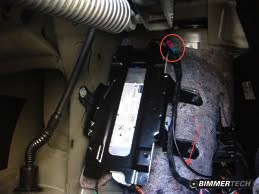
- Some retrofitters prefer using the available telecom or the backup antenna which is connected to COMBOX and redirect it to the back of CIC unit by using an extension coaxial cable with FAKRA connectors. Here is a photo (courtesy of Bimmer-tech) of the COMBOX with its antenna cable disconnected (pink connector) and attached to the extension cable (Blue connector). The cable is pointed by the arrow.
- I didn't choose the previous option as I was not sure about the process and thought it was risky and time consuming. So what I did is:
= I removed the back seats ( I don't have access through option) . The DIY is available in
this thread.
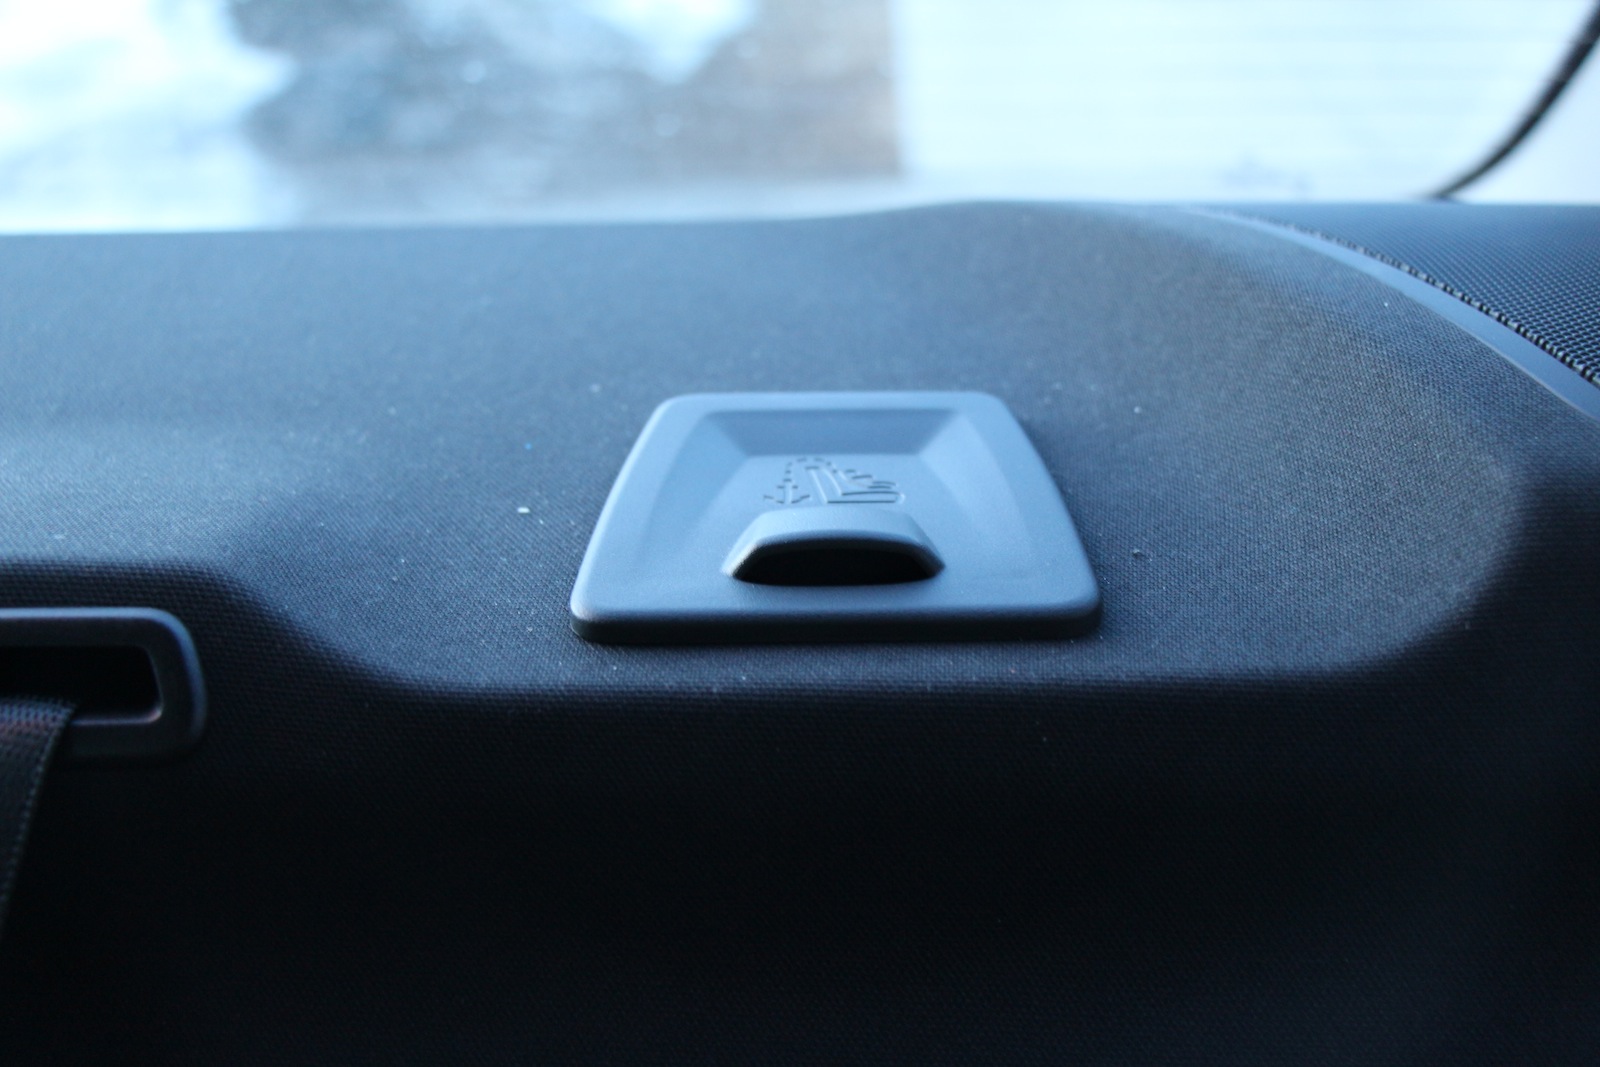
= installed the antenna with magnetic base to the metal frame of the car underneath the rear parcel shelf by accessing there from the left carseat hook housing. (Pics below)



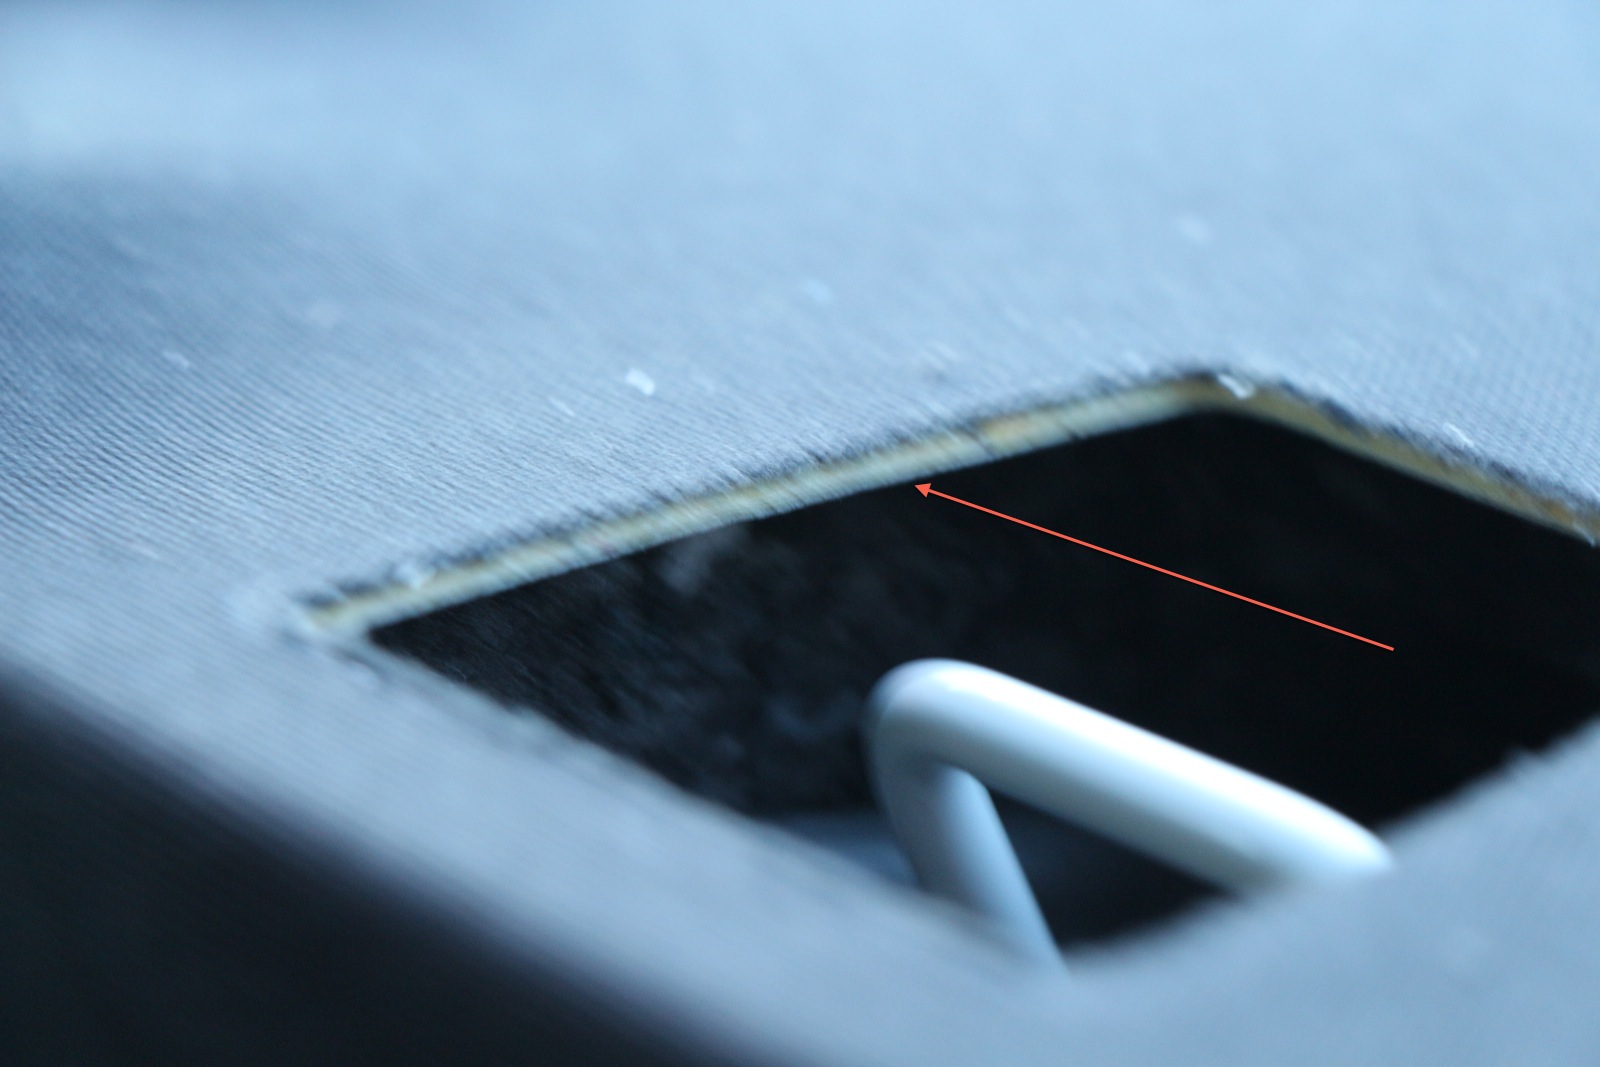
= Ran the cable underneath the parcel shelf to the cable housing under the rear left door sill strips. (pics below)

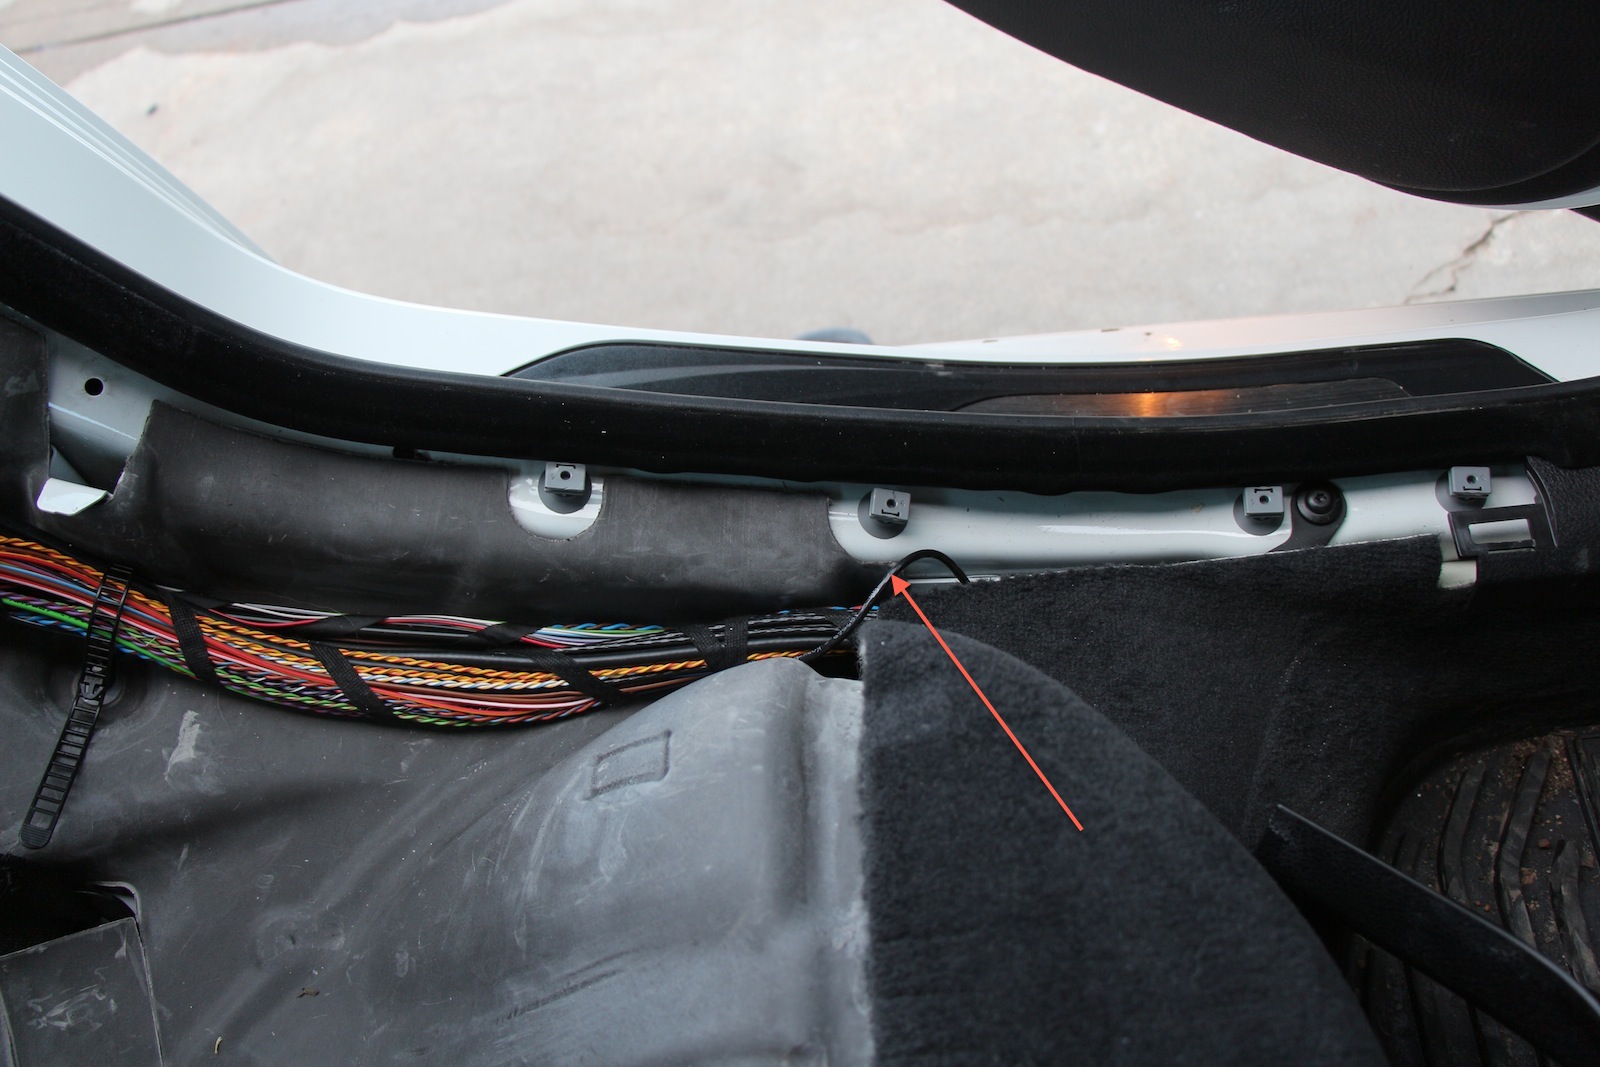
= From this point you don't need to open pillar trim and driver's door sill strip. You simply can shove the cable underneath the trims. I did it using fingers as I could feel how far in I am running the cable and it won't come off. If your antenna cable is short (similar to mine) you can buy extension coaxial cables with Blue FAKRA connectors (for GPS) or water blue (universal)*.
= To this point your cable should be out of the trims just behind the hood opener handle. It is better to do the rest after you opened the center dashboard for replacing the head unit. Because you need to pass the cable all the way to the back of the CIC unit. But I explain it here.
= I opened the driver's leg airbag unit and driver's footwell trim panel using torx screwdriver size 35 (two of them) and 20 (ttwo+ one of them, one is attaching the floorings to the trims to the car). Then I ran the cable underneath the footwell trim. If the center dashboard is open (explained below) you should be able to see the end of the cable from the housing of the CIC unit. You need to pull the cable to that housing. (Having a buddy helping you is very useful but I did it alone anyway)
* Some people believe that using extension cables for GPS antenna will reduce its reception. It is theoretically true, but I tested the navigation in the downtown area and the accuracy was the same as my buddy's F25 with navigation option.
 Attachment 840586
3- Installing the glovebox USB is a good thing as that is the only way you can add music to your new CIC hard drive and can import/export your profiles to a flash memory. Here are the steps:
= Open the side cover by simply pulling it out starting from the lowest part.
= Push the cover for USB to the glovebox. or you can ply it from inside the glovebox.
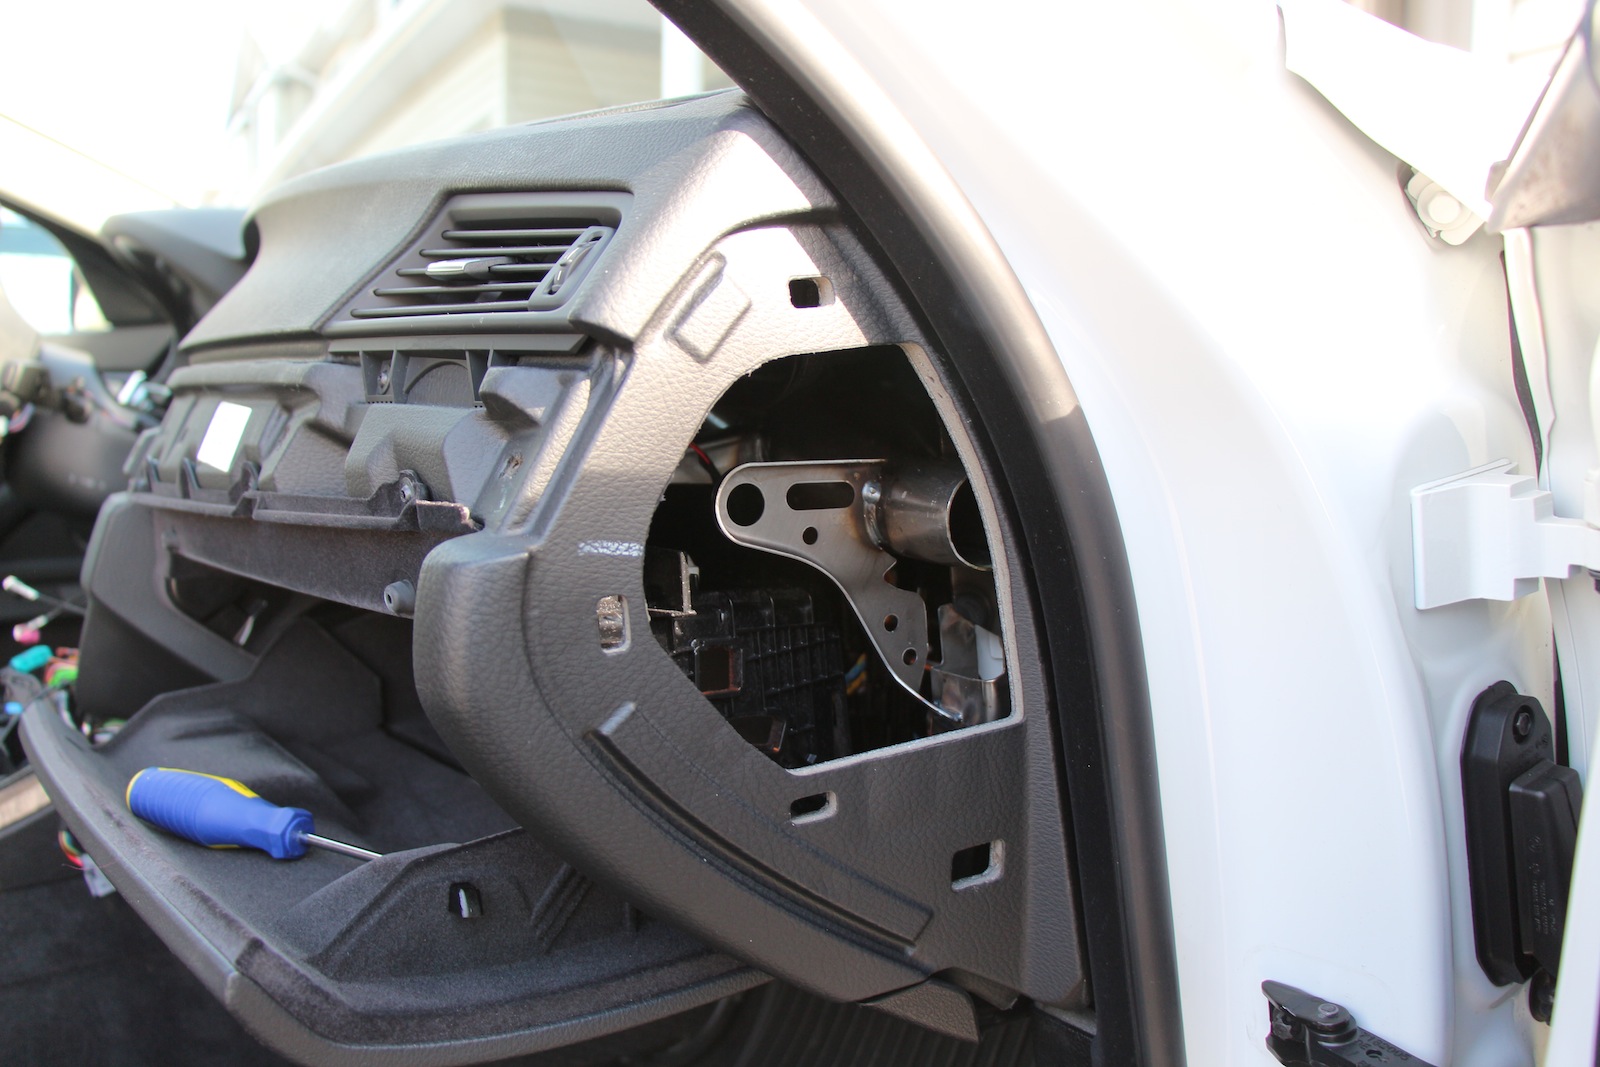
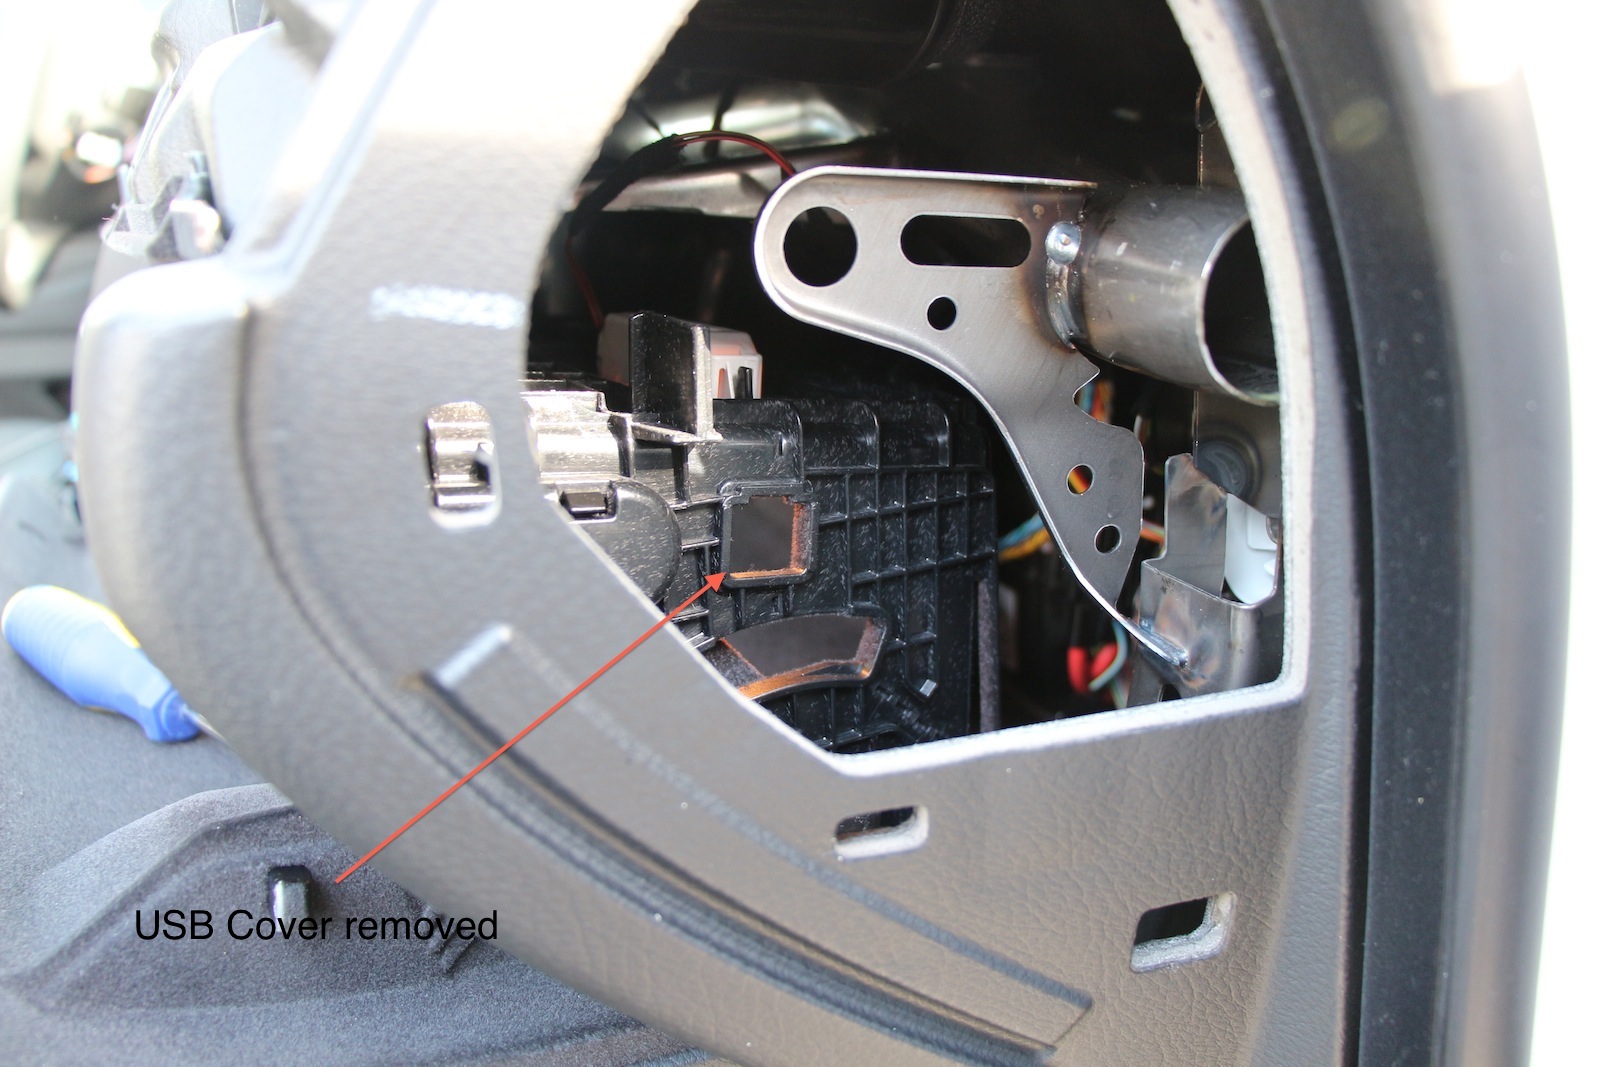
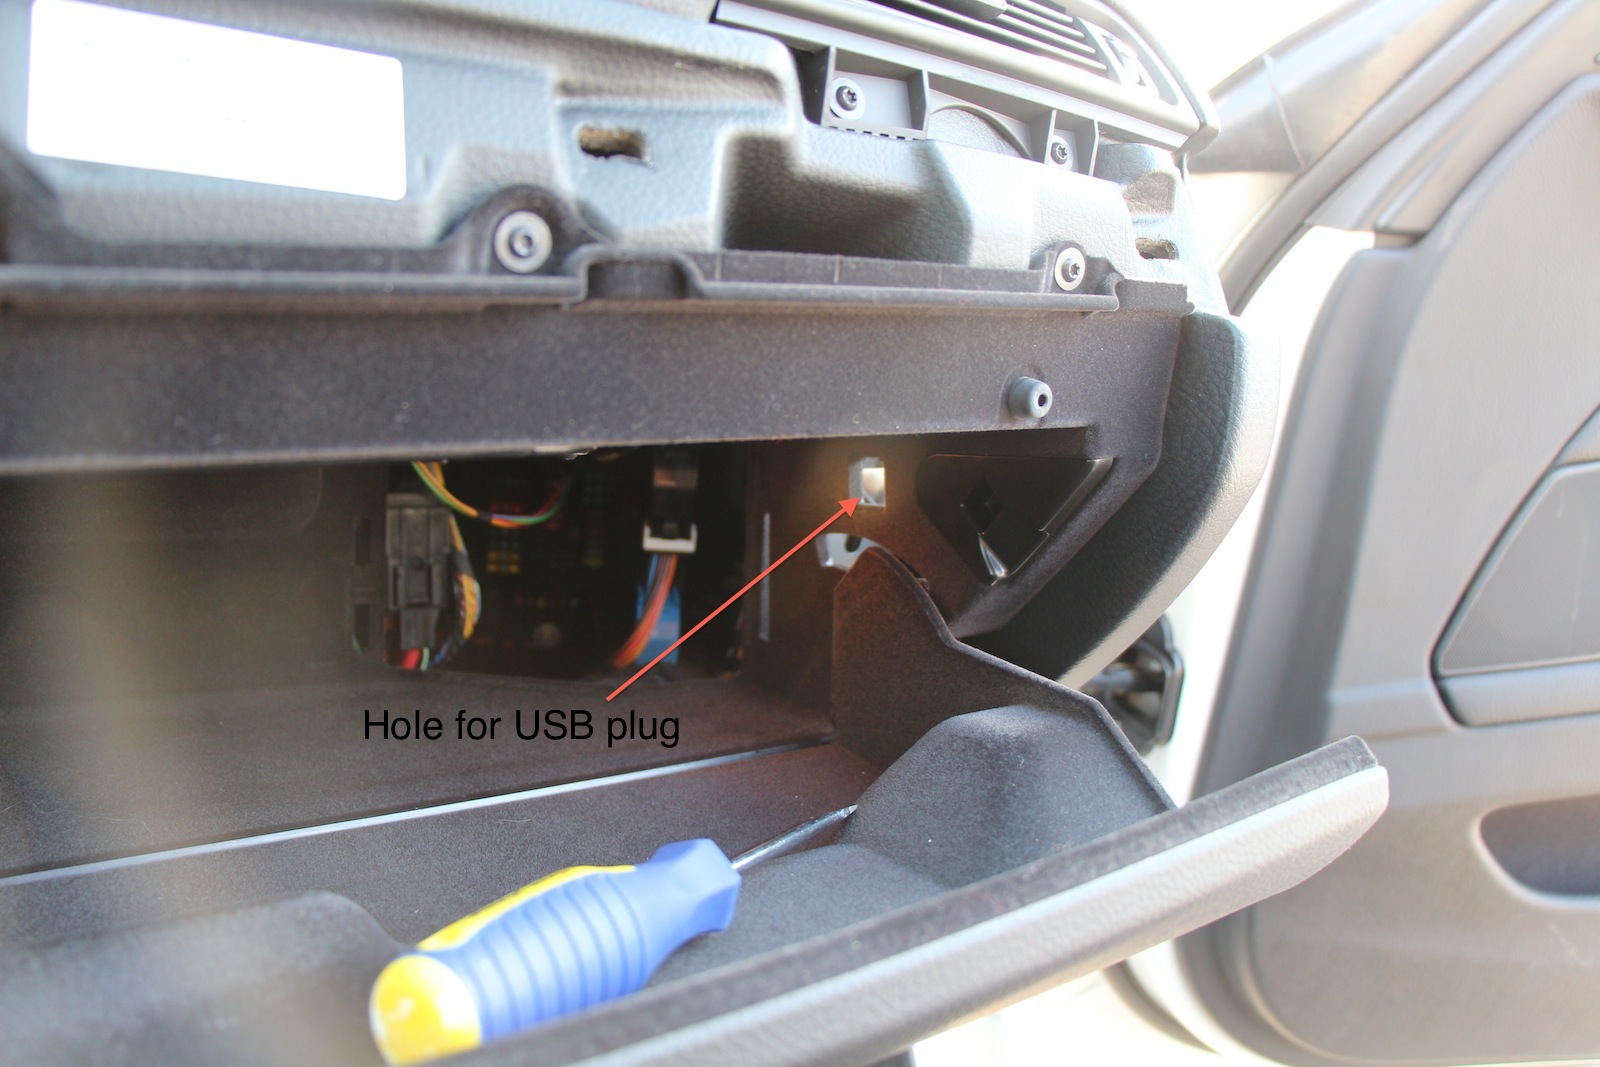
= Insert the USB plug into its hole from inside the glovebox. Look at the pics below as there is only one way that USB plug goes through the hole. If you are pushing and it is not going through simply, rotate it 90 deg and try again. It should go in very easy


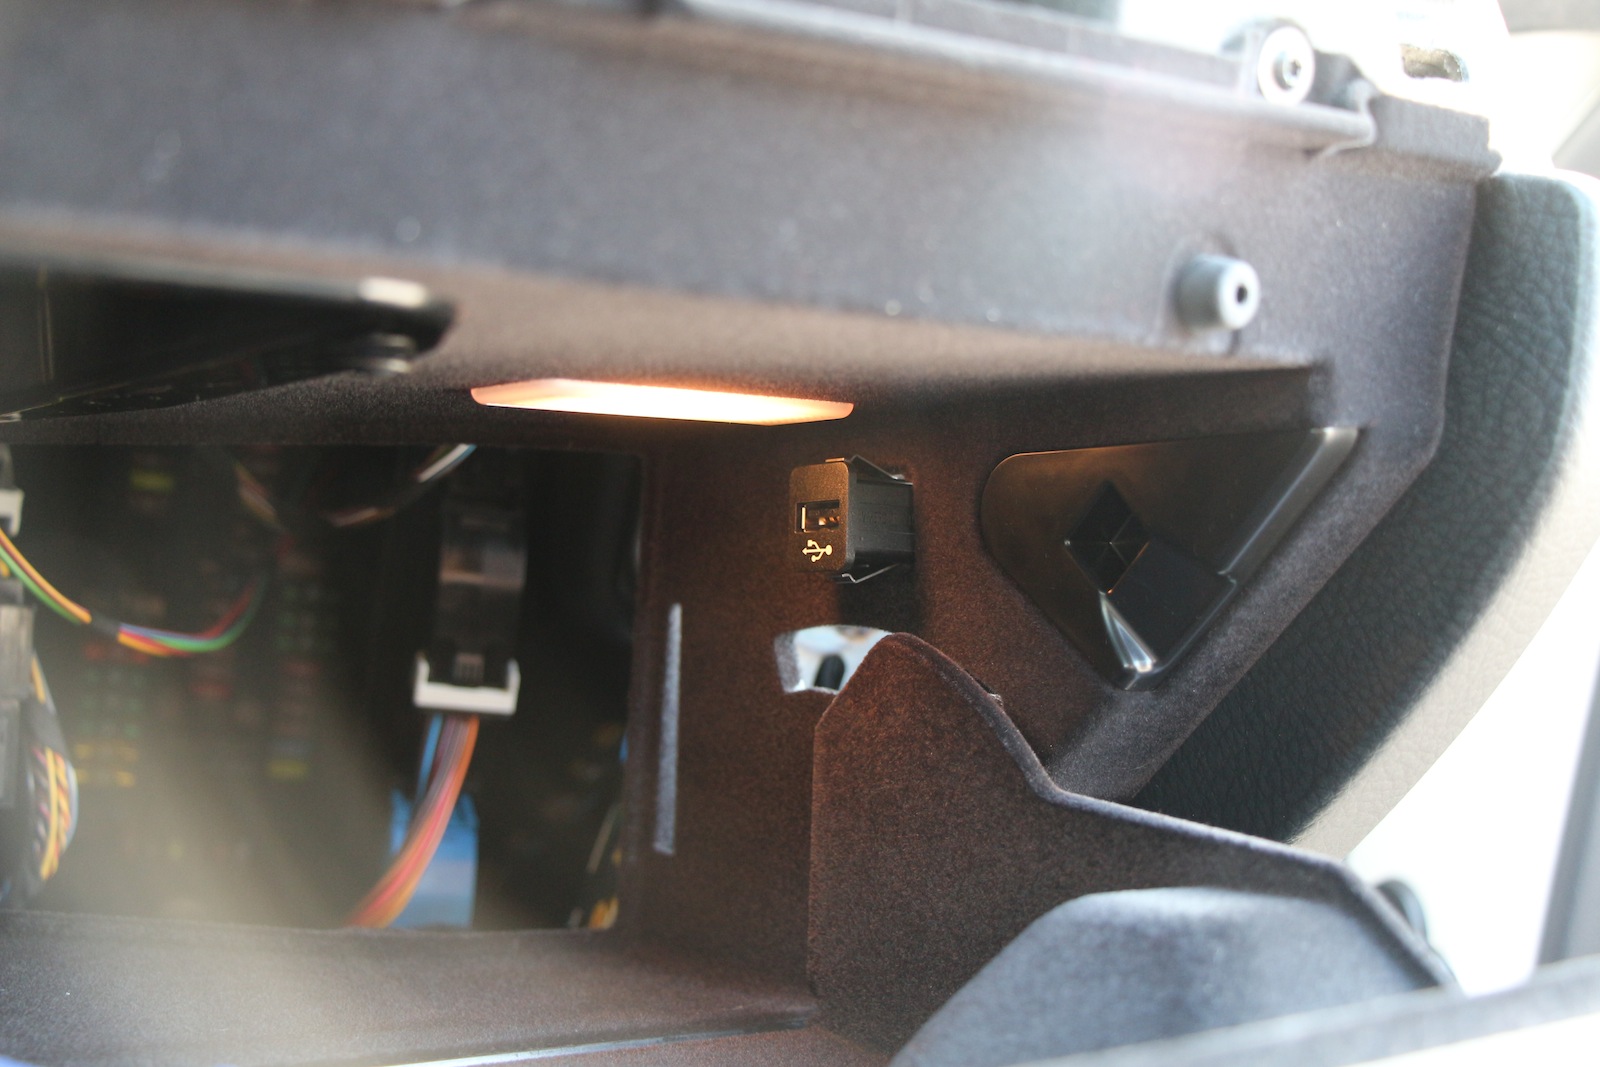
= If you have your centre dash opened and the old head unit removed pass the USB cable from the CIC unit housing to the space available above the glovebox compartment and attach the connector.
Notes: USB cable only can connect to the plug from one its head and the head is for CIC unit. Make sure you are passing it trough in the correct direction to reduce redundant work. I found it easier to run the cable from the CIC housing to the USB plug rather than the other way around, though it is up to you.
4- for this part you need to have a torx screwdriver size 20 handy. Cover the center console and gearshift handle by towel to reduce the chance of scratching them. When I say I pulled something that means I pulled it hard, don't be afraid. Here are the Steps:
** These two videos show how to remove the screen and CIC unit, I explain the steps below:
Display Screen:
Head unit:
= Open the glovebox door
= pull the decor cover trim starting your way from the passenger side to the centre. ( When you get close to air-vents and the start button be careful for the wirings.

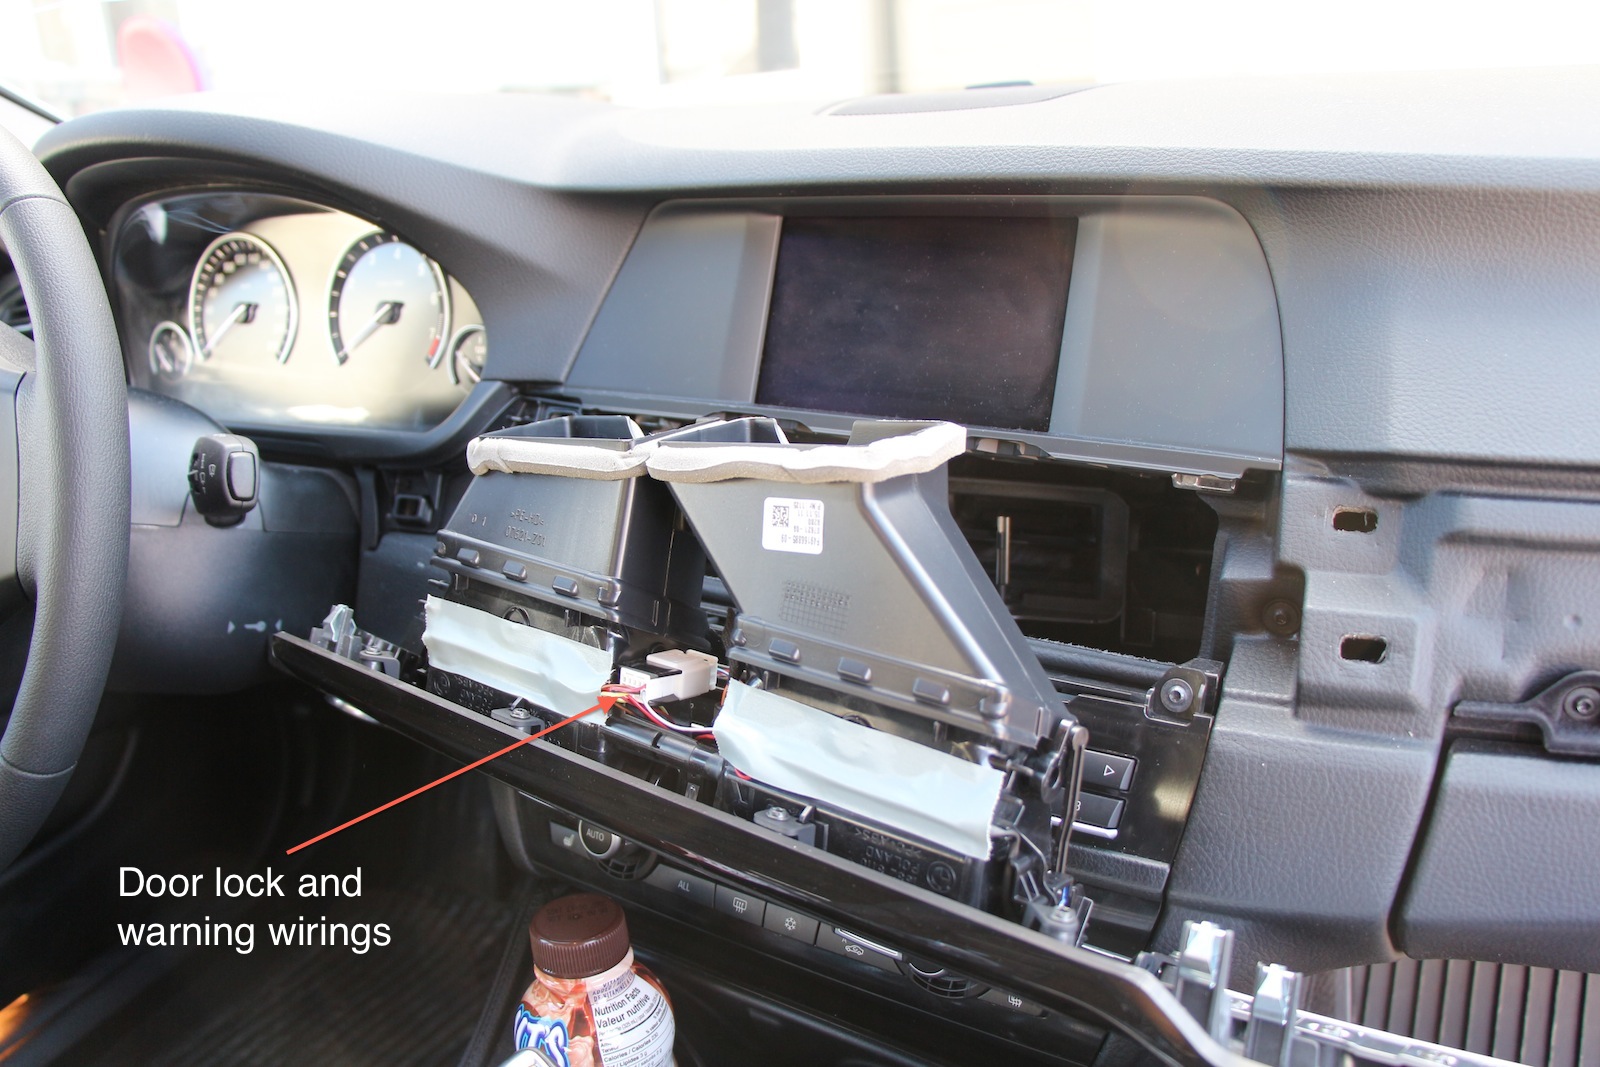
= Disconnect the wirings from the start button and the waning and door lock buttons. (Make sure you remember what is where

) Put aside the trim in a safe place.
= Unscrew the screen from its below (two screws) and pull it gently toward yourself and down.
=Disconnect the wirings from the back of the screen. and put the screen aside.
NOTE: you can install your new display at this point as it has nothing to do with the rest of the process (explained the steps for installing below)
= Unscrew the radio and climate control unit from the top (two screws). These units are attached together as one unit. pull it gently from the top to the bottom there are four metal pins holding the unit in its place, two on each side.
= Disconnect the wirings one blue plug on left and one black on the right side. there is a mechanism that holds these plugs. Gently move the black strip (it is more obvious on the blue plug below the wires) up and toward the bottom of the plugs this will result the plug comes out of its place. ( Watch the video above carefully) put the unit aside.
= Unscrew the head unit and pull it off its railing.
= Disconnect the wirings. There is a big black quad connector which has a mechanism that holds it in place. Watch the video to see how to remove it. There are two coaxial antenna cables one with a black connector and one with a pink connector. to disconnect them slide the white tongue out and while pushing its end pull out the cable. The pink cable ( for telecom antenna) won't attach anywhere to your new CIC unit.) There is another bigger pink connector (CID) that will connect to your new CIC.
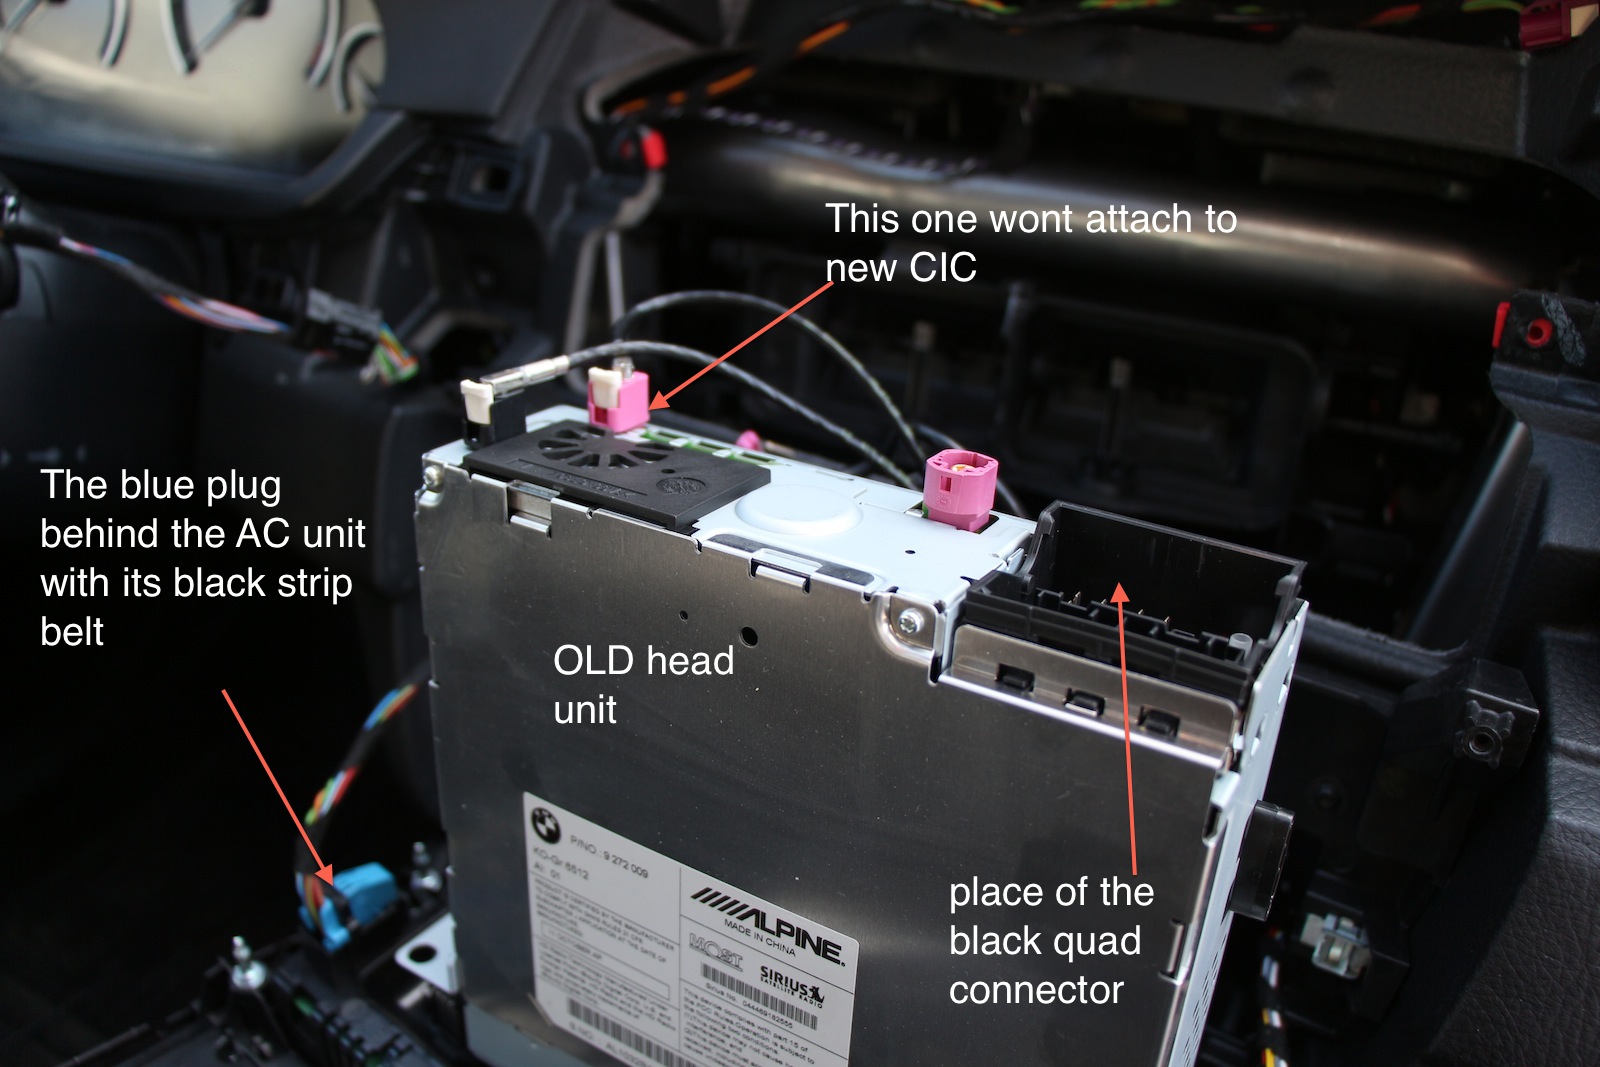
NOW you need to bring your new CIC and display to connect
= Connect back all cables to the new CIC unit. i.e.:
-= small black coaxial FM radio antenna
-= Pink connector (CID) smaller pink won't connect to anywhere here
-= White connector (Glovebox USB)
-= Blue Connector (GPS antenna)
-= Big black quad lock connector
= Install the CIC unit into its place (slide into its railing and screw the two torx 20s, if you have more you can screw two more below the original ones)
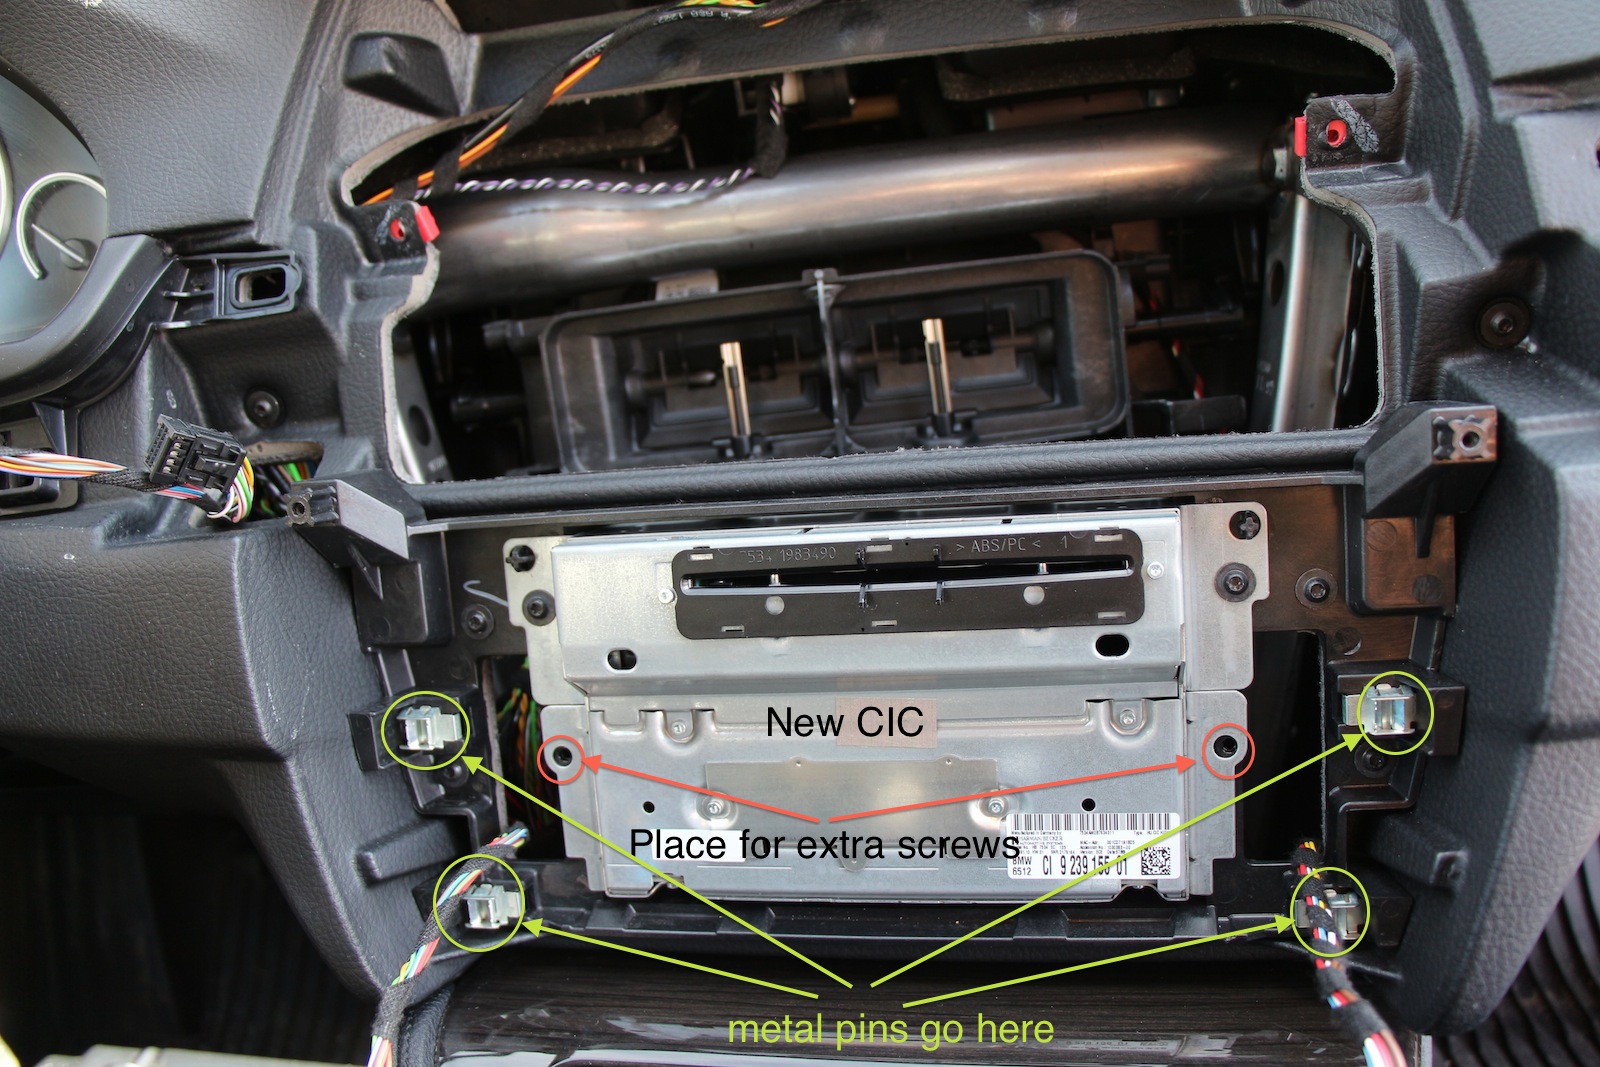
= Connect back the wirings for the climate control and radio unit (black and blue plugs)
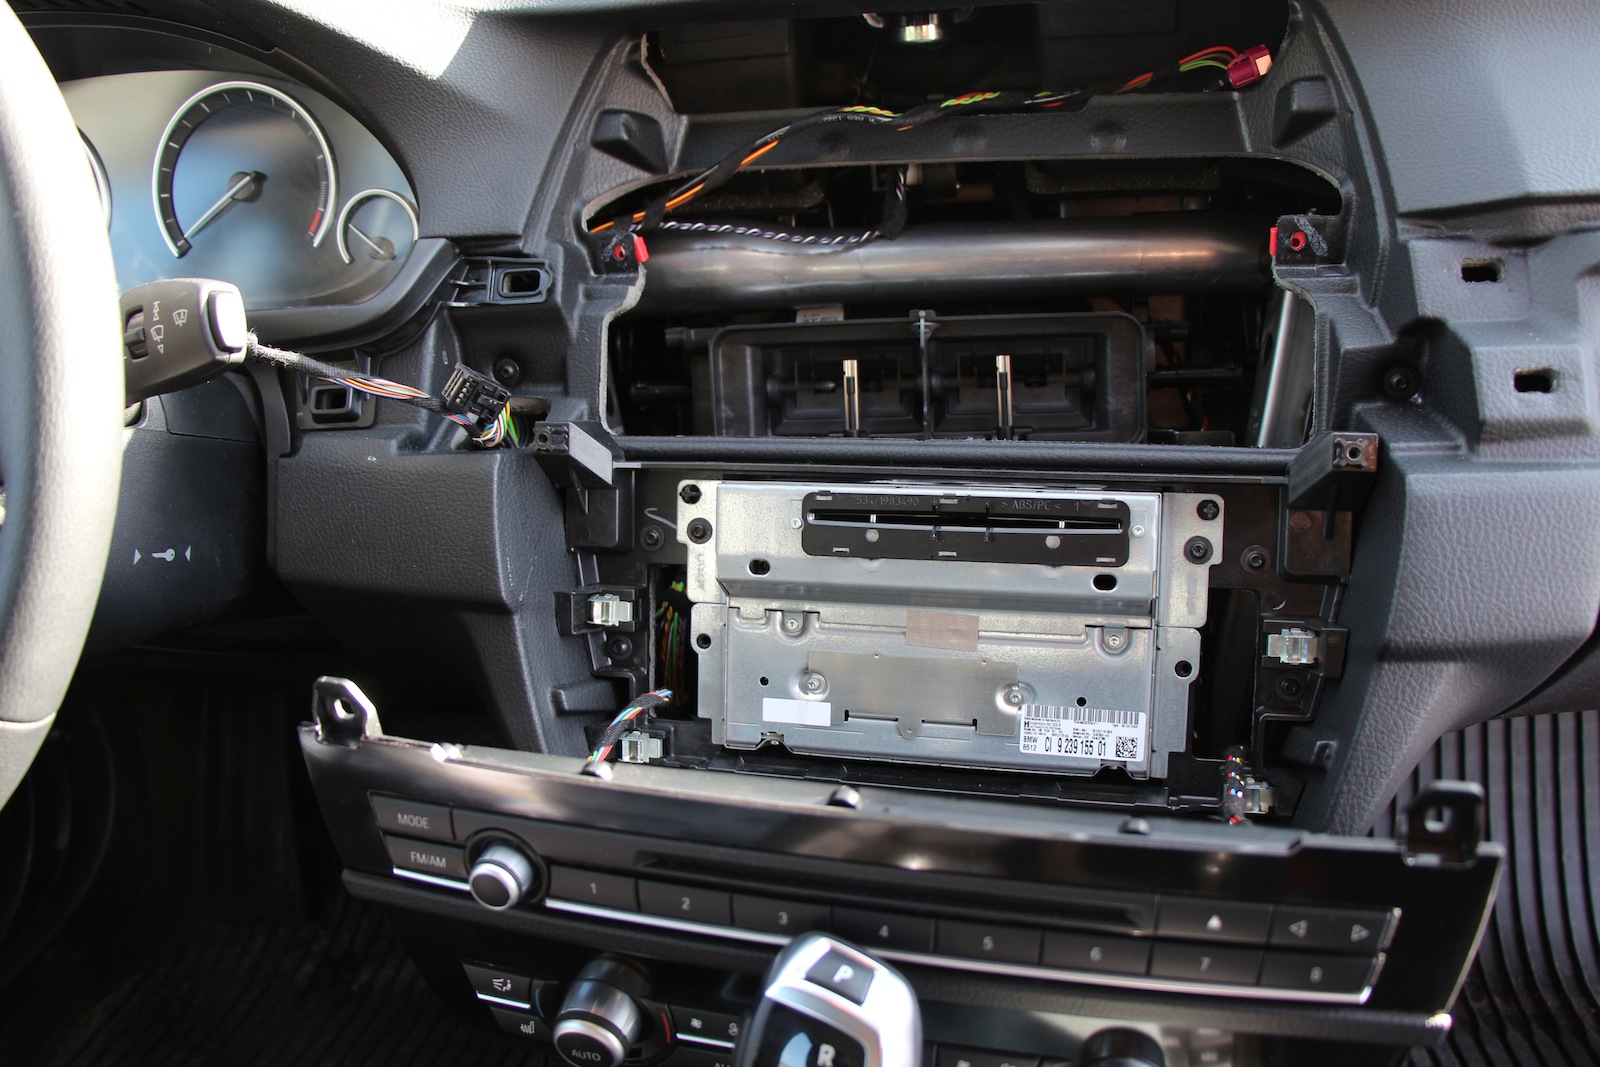
= Install back the A/C radio unit. (insert and push the metal pins till you hear the click sound) and screw the two torx 20s
= Connect the two wirings to the back of your new 10.2 display
= Install the display and screw it into its place. (you could install the display before opening the head unit)
= Connect the start/stop wiring and warning and door lock buttons wirings
= install back the decor cover.
= install back everything else to their places, if you haven't already. e.g the right side cover beside the glovebox, Driver's footwell trim and airbag. rear door sill strip and rear seats.

By this point if you start your car (it should if you didn't mess up) new menu options such as navigation( BMW Assist changes to connected drive) should be available. If your CIC unit is pre-coded to your VIN (that is the way Bimmer-Retrofit does it) you should have access to navigation.

Note: maps may not be available right away. but if you turn your car off and leave it for a while they will be available.

The Navigation works pretty well at this point but you won't see the arrows and guidance on your instrument panel. that is why you need step 5.
5- You should call Bimmer-retrofit when you are done installing to book a coding session.
remote coding the car by Bimmer-Retrofit was an interesting and exciting process. you connect your car using the provided ENET cable to your router (internet) assign a router port to your car IP address. Here is a photo of my setup for remote-coding session.
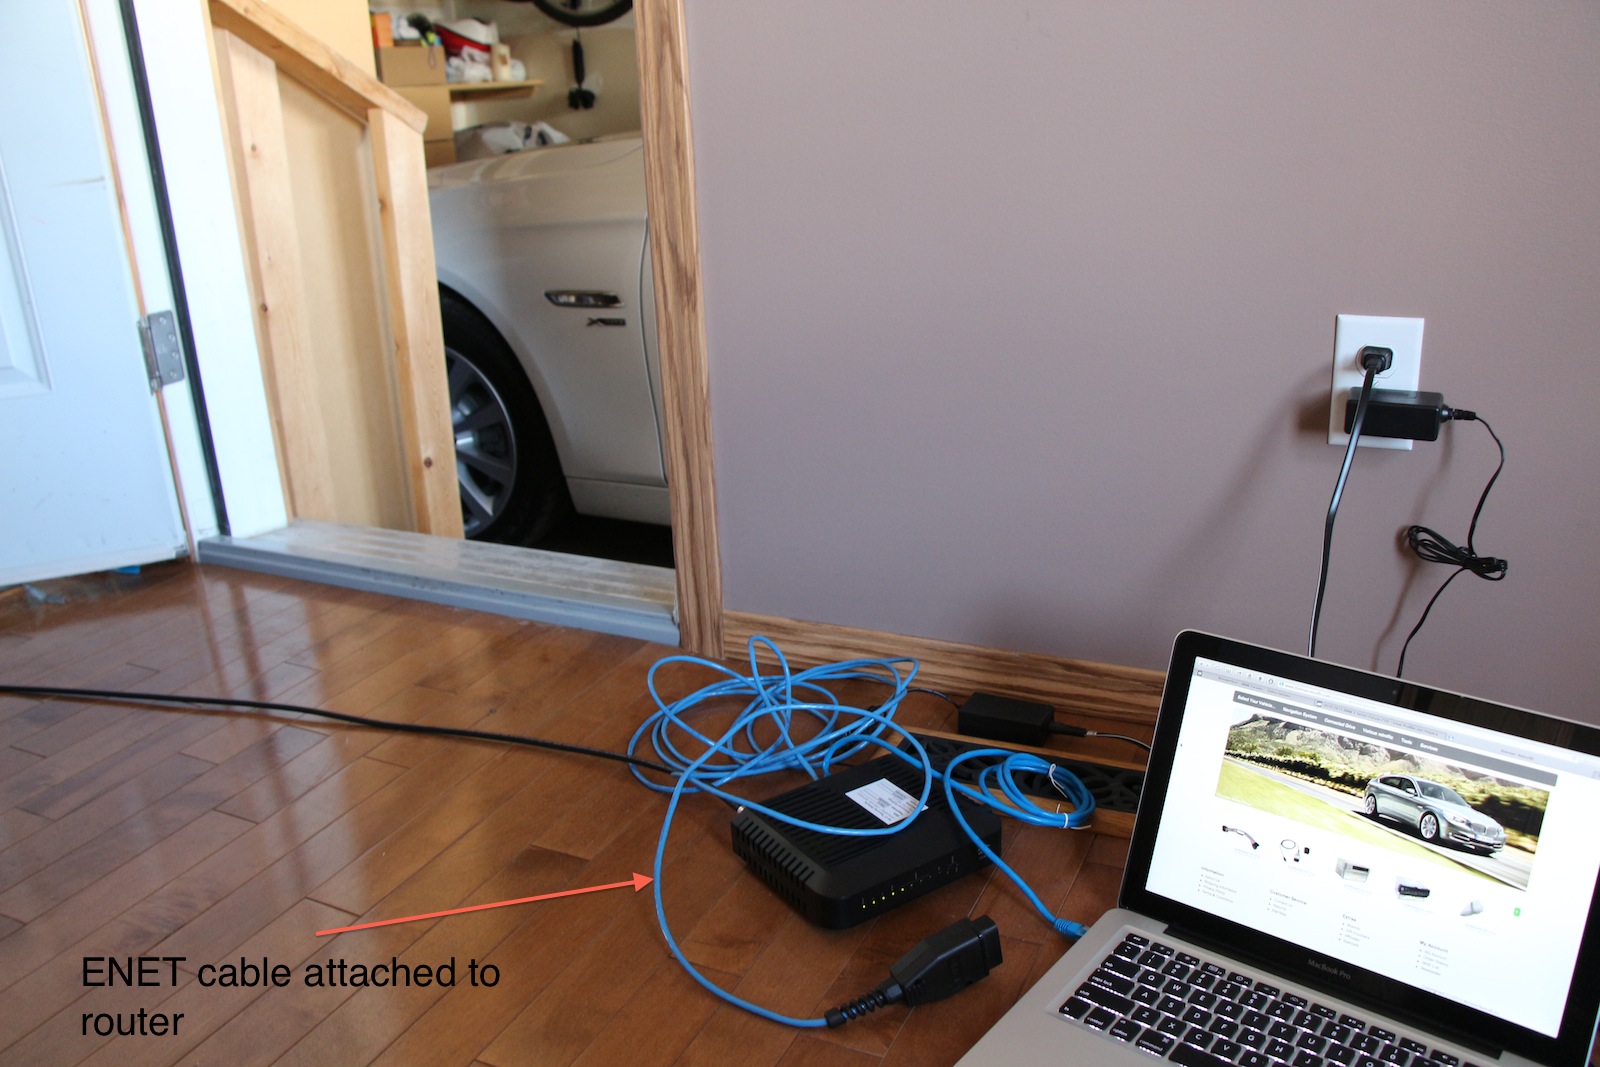
The technician codes your car for Nav, video in motion and voice control (if ordered FSC). you are communicating with the technician using Skype during the process.
Now I have navigation, voice control and best of all I feel I know my car better that before as I opened it up myself

.
I should acknowledge lovely Kate (Bimmer-retrofit customer service) and Vlad (Bimmer-Retrofit coding technician) for their kind and perfect service Thanks guys.
Update 04/04/2013: Photos of navigation map and guidance:
