Fellow F10-enites, I recently acquired my 'new to me' 2013 F10 535i and quickly discovered the rear shade issue. Upon some research, found that the motor is usually in need of replacement. I could not find the Alibaba screamin deal mentioned earlier in this post so I sucked it up and bought a ~$200 unit from ECS tuning. Without a detailed instruction set on exactly how to do this, I used caution and some advice from other posts on other BMW series cars. What follows is my removal/install. ITS VERY EASY. There are, of course, a few tricks to help make this less painful. Of note - my ECS tuning motor replacement did not have the correct wiring (shown later). This was simply resolved by using the connection from my old motor. The only difference in the part numbers were the last two digits. Believe my stock was 059 and ECS was 039. Bottom line - if you have the OEM motor, just save the connections and you should be good. Verified mine works as intended.
Quick overview of steps involved. Details and pictures to follow:
CAVEAT: I have rear folding seat so...I my first step was to fold them down (no rear seatback removal for me...).
And for some reason, my photos would not post in portrait...only landscape. So some of these are sideways. If there's a fix for that, I'm all ears.

1. Remove rear seat bolsters. Pull from the top to release connection, then lift up to remove 'legs' inserted into the bottom.

2. Remove "Airbag" icon and unscrew torx screw to rear C pillar / air bag covers.


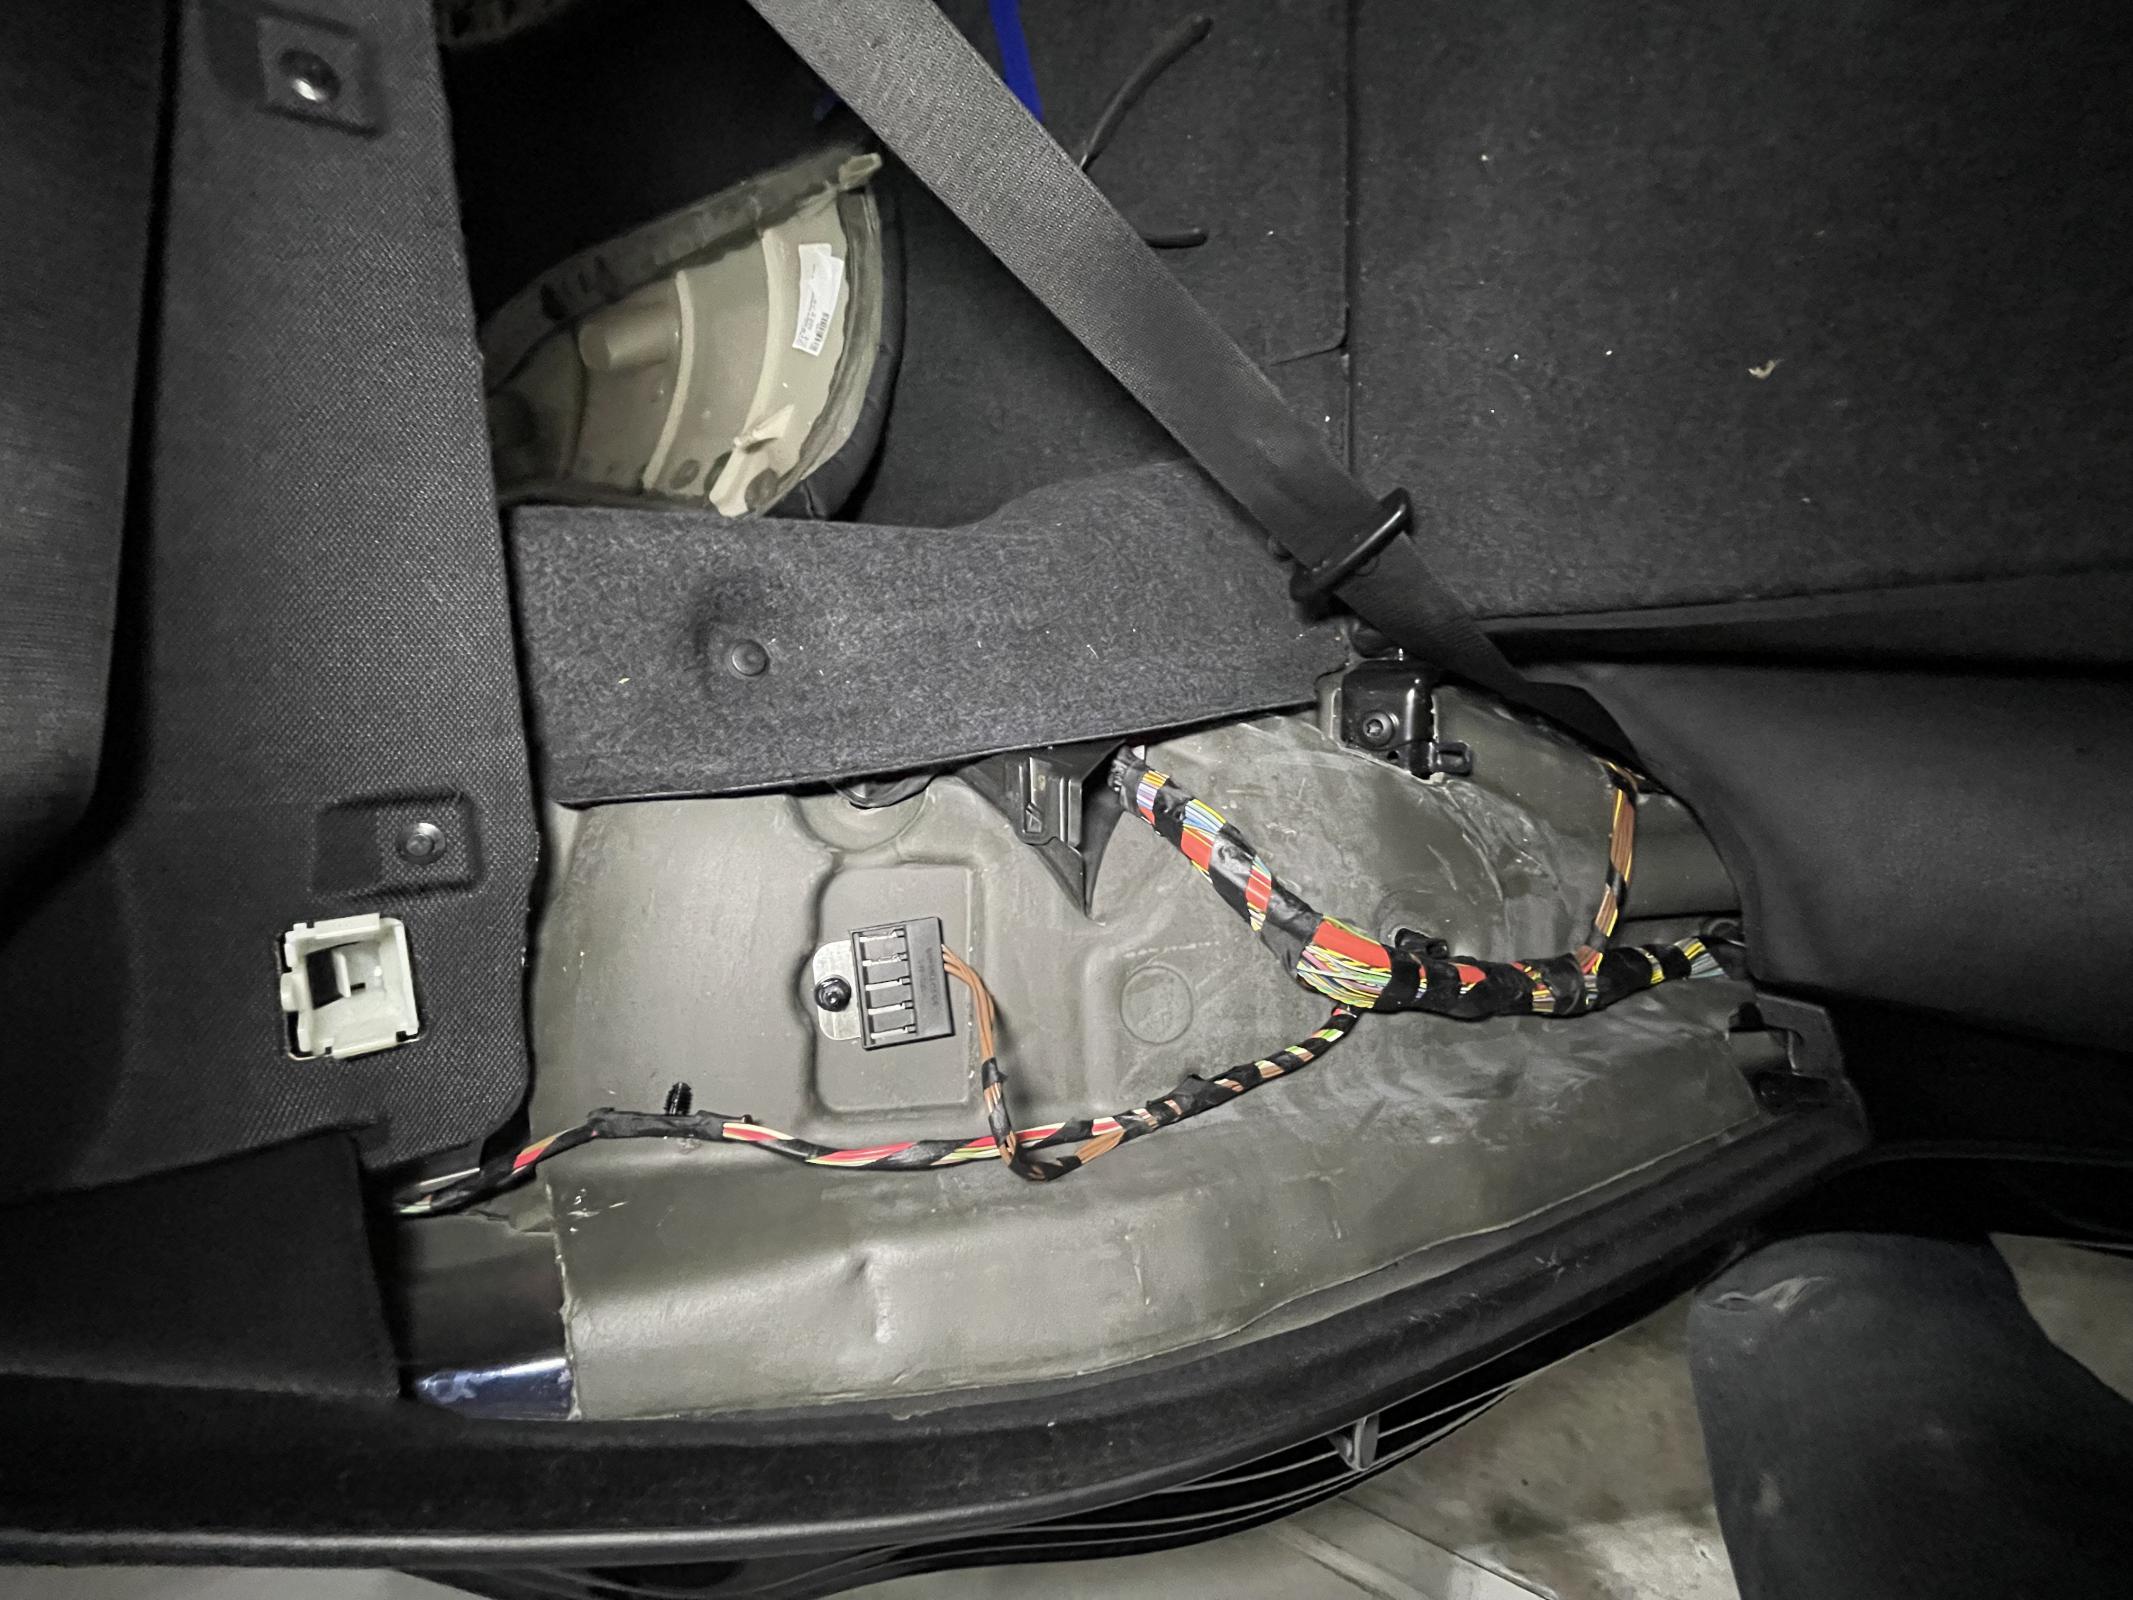
3. Remove 3x 8mm head bolts from trunk that bolt to rear sunshade.
Photo 6. (only two bolts shown here. These are the only bolts in this panel, least on my car..)

4. Remove ~6x plastic pop rivets from rear deck near rear seat latch
No photo. Simple rivets you remove the center stud then pry out.
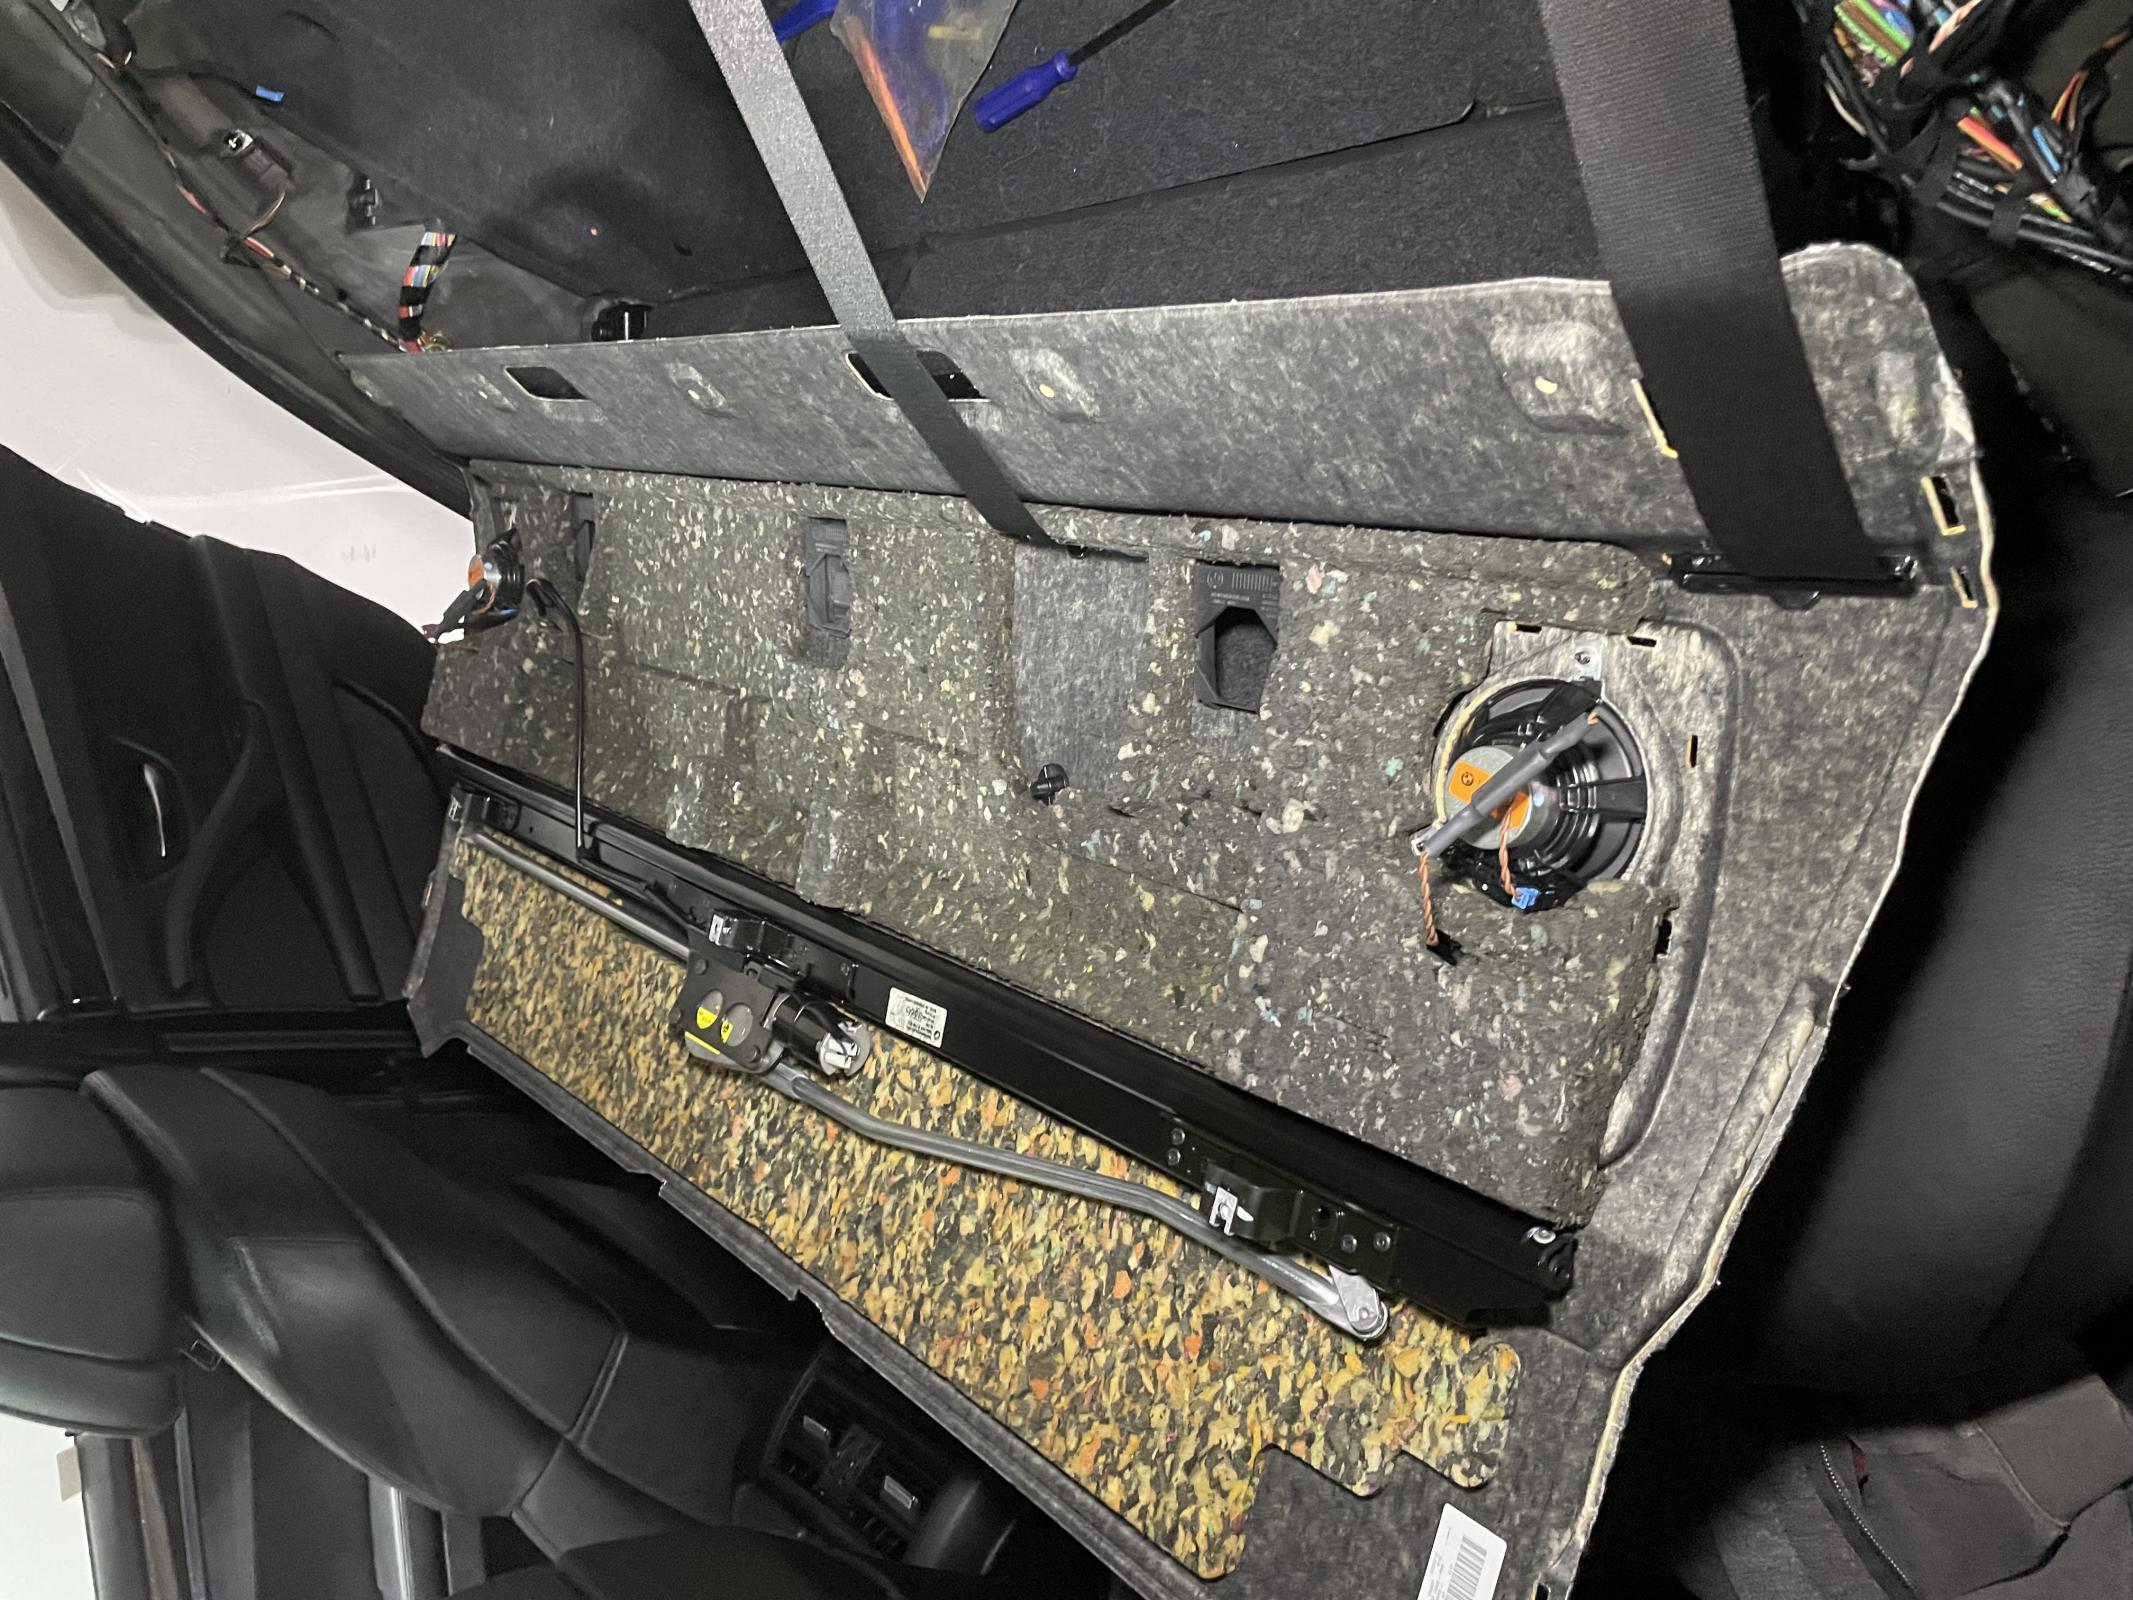
5. Pull and remove rear shelf to flip over and lay on rear seat. (unplug speakers and motor connection before getting to the seat.)
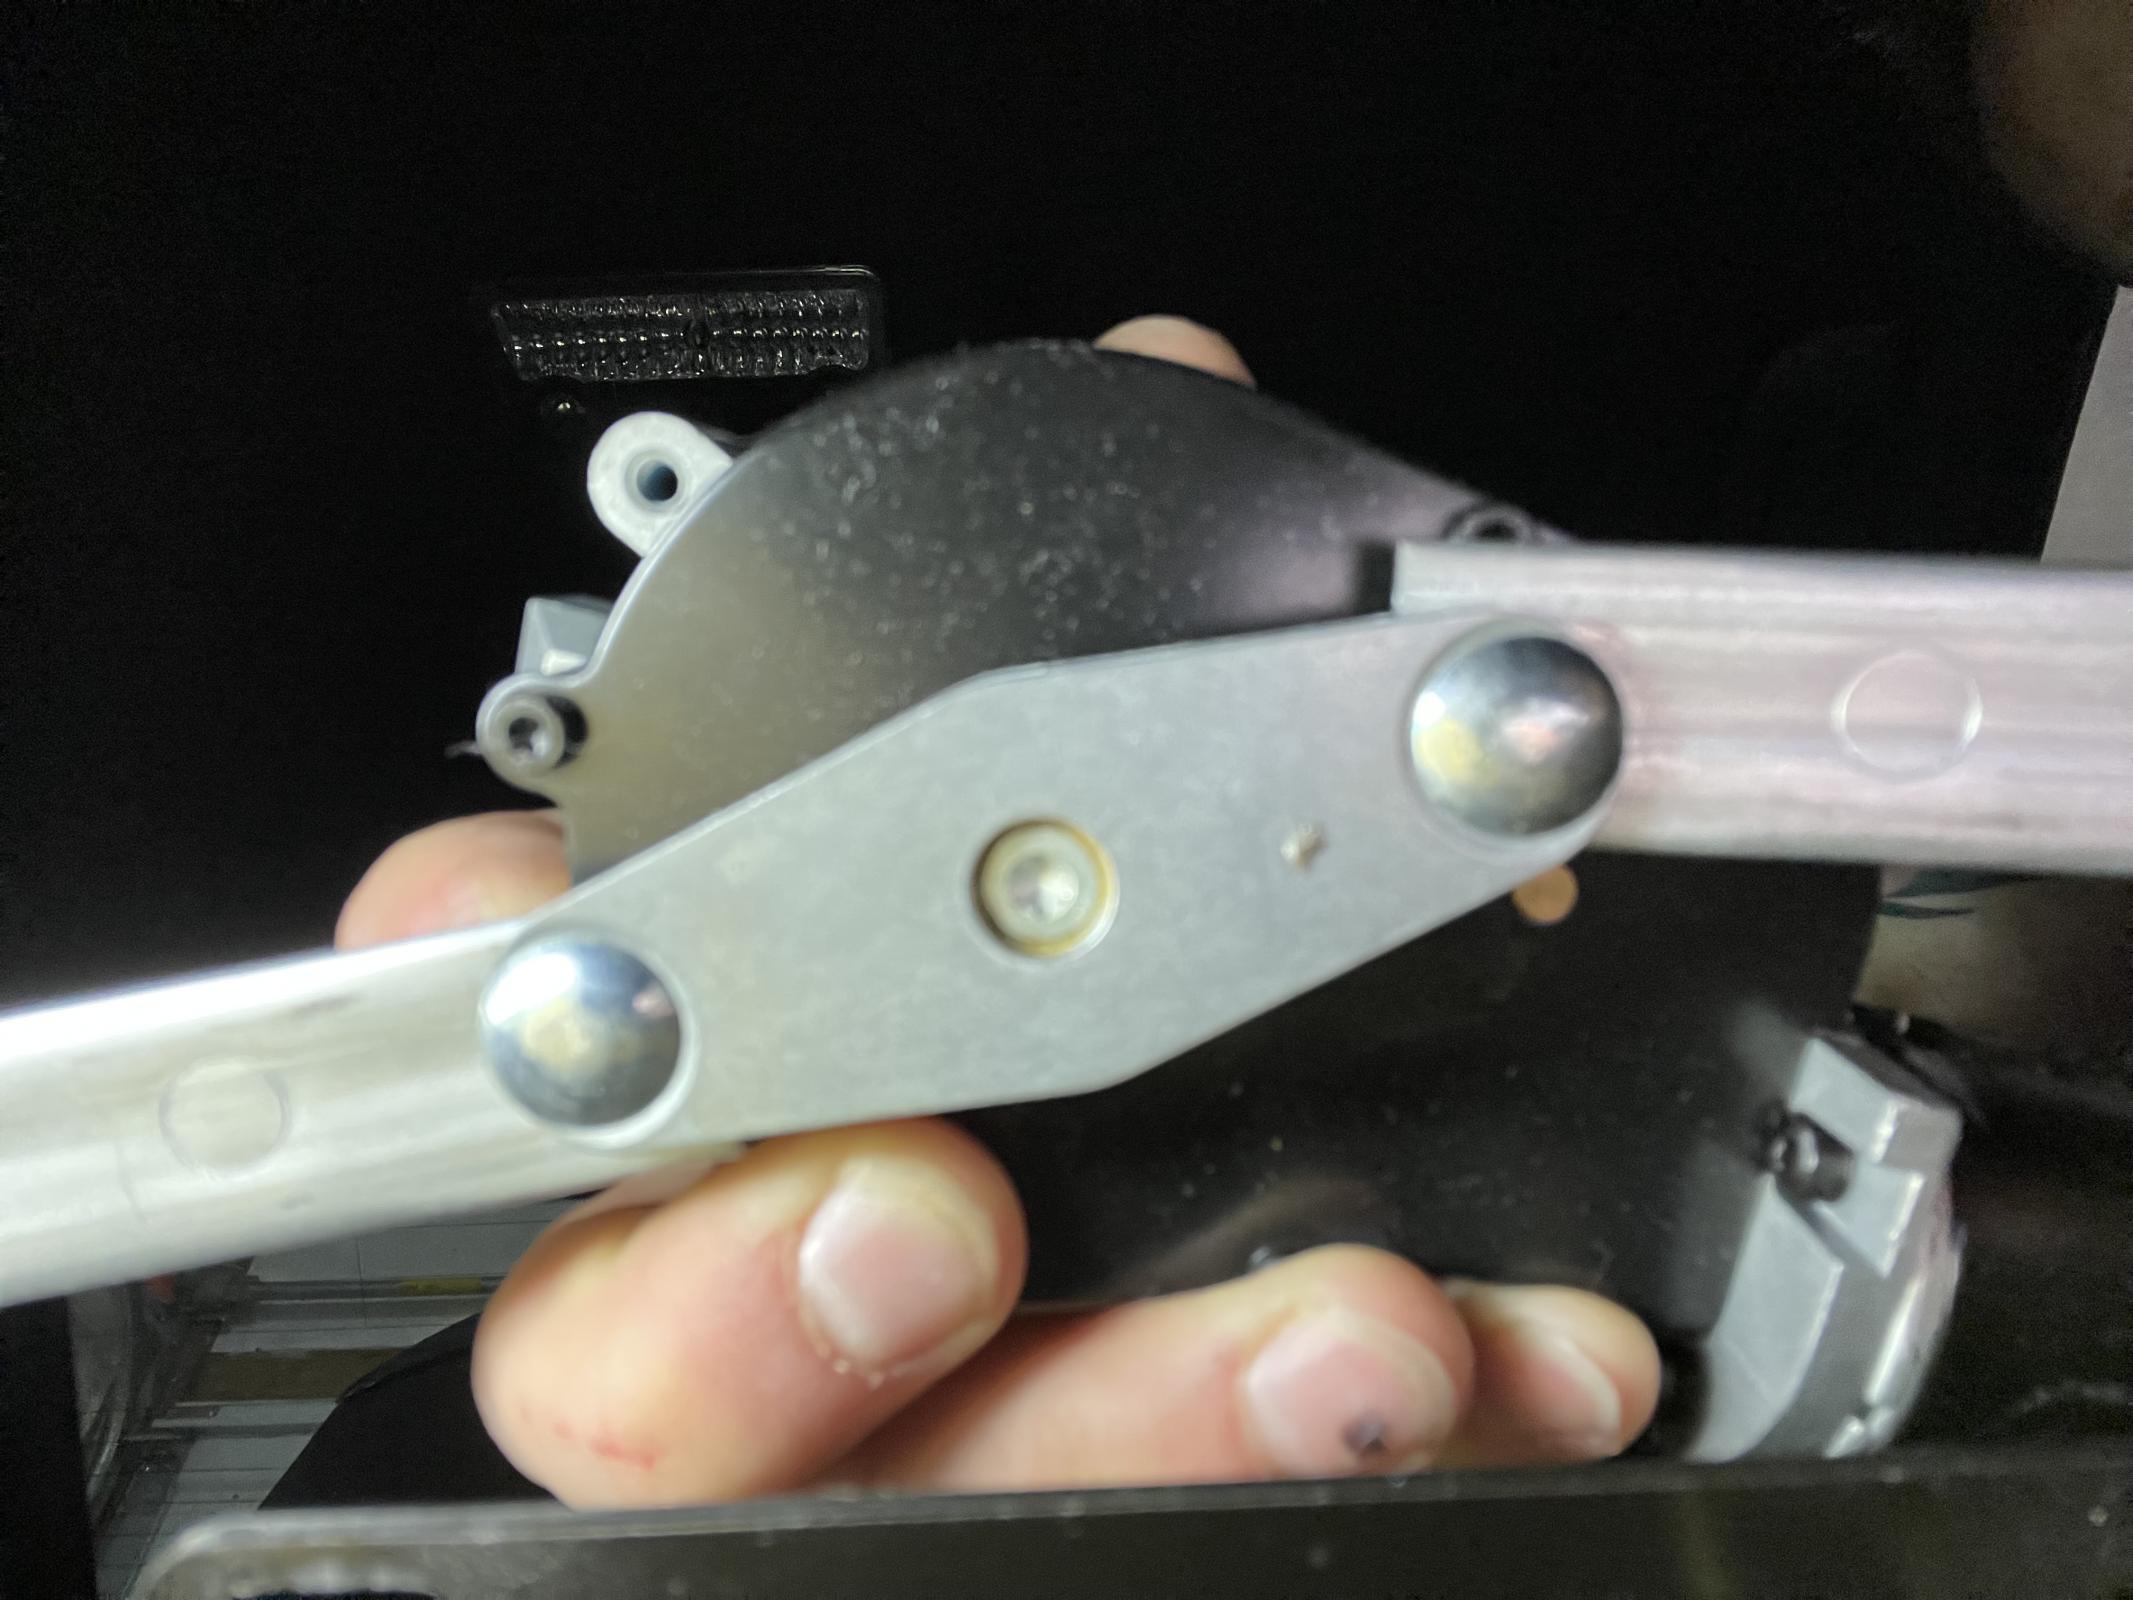
6. Remove 3x torx screws holding motor to sunshade bracket and remove torx screw holding sunshade cam to motor sprocket. Caution - I slipped on mine a few times, stripped it, and ended up having to drill it out.... My favorite thing is to drill out bolts so this was just perfect.

7. Put everything back together! BIG TIP - when putting in the rear side bolsters, REMOVE the white plastic clip from the frame of the car. Insert it into the bolster panel you removed. Then when you have to push the bolster back on, it just snaps right in. Trying doing it without that step and you'll probably not ever get it to connect and might bend a few of the plastic pieces trying (ask how I know).


Just FYI - Wiring that came with my motor.

All in all, I couldn't believe how relatively easy this was. I usually break stuff when I don't have clear instructions and I just took my time and viola...no broken stuff!
Hope this helps some of you looking to fix your sunshade!
Cheers.