I didn't order my car to spec, I get bored with cars too easily. I saw this one on the lot and leased it thinking I had all the features I would want. It didn't take me long to realize I should have opted for a model with soft close doors - most of you know what I mean.
On my last car (E60 550i) I did all sorts of stuff like soft close doors, HUD and navigation retrofits and had a lot of fun doing them.
I have to take it easy with the retrofitting on the F10 because it is a lease and I'm probably going for the M5/6 in 3 years. Luckily this is a pretty straight forward retrofit, costs under 2k in parts (who cares what it would have cost to order it from the factory) and uninstalls without a trace.
I got all the door modules online, I will post part numbers after I get back in the US - but you can easily find everything you need on real oem.com.
I will post pics of my progress and a shoddy DIY for those that may be interested in doing it themselves. The important thing to mention as far as installation goes is that the soft close door modules replace the existing lock mechanisms completely, bolt right in to the door frame and only require power and ground to function. Everything is self contained so technically no coding is necessary at all. If you're uptight about it adding the proper VO is easy.
Over time the new car smell will wear off these things and people will go nuts adding features they wish they had, I wonder how long I will be able to resist the temptation to retrofit HUD, haha.
__________________________________________________ ________
**UPDATE: RETROFIT COMPLETE See below for details and pics!**
__________________________________________________ ________
F10 Soft Close Door Retrofit
As I mentioned in my post, I did not order my car to spec  I just saw it on the lot and was happy with the included features. I decided to go with a lease because last time I owned a pre-LCI car, I spent way too much money updating the lights, interior and navigation. Although this is a leased car, I still find that a few features I am missing will end up turning into a regret (for not ordering them) so I decided to take matters into my own hands. Those of you who own an F10 without soft close doors can probably agree with me that these doors need them. BMW switched to aluminum for this body style, so for me personally  there is a major difference from the E60 I traded in for this car. It isnÂt as if I cannot properly close a door, itÂs just that these doors now require more effort and there are times (like when I am in a hurry) that I really wish I had this feature.
Getting the parts was rather easy, I searched realoem.com and found the part numbers for the modules, they are as follows:
Front left - 51217185689
Front right - 51217185692
Rear left - 51227154515
Rear right - 51227154516
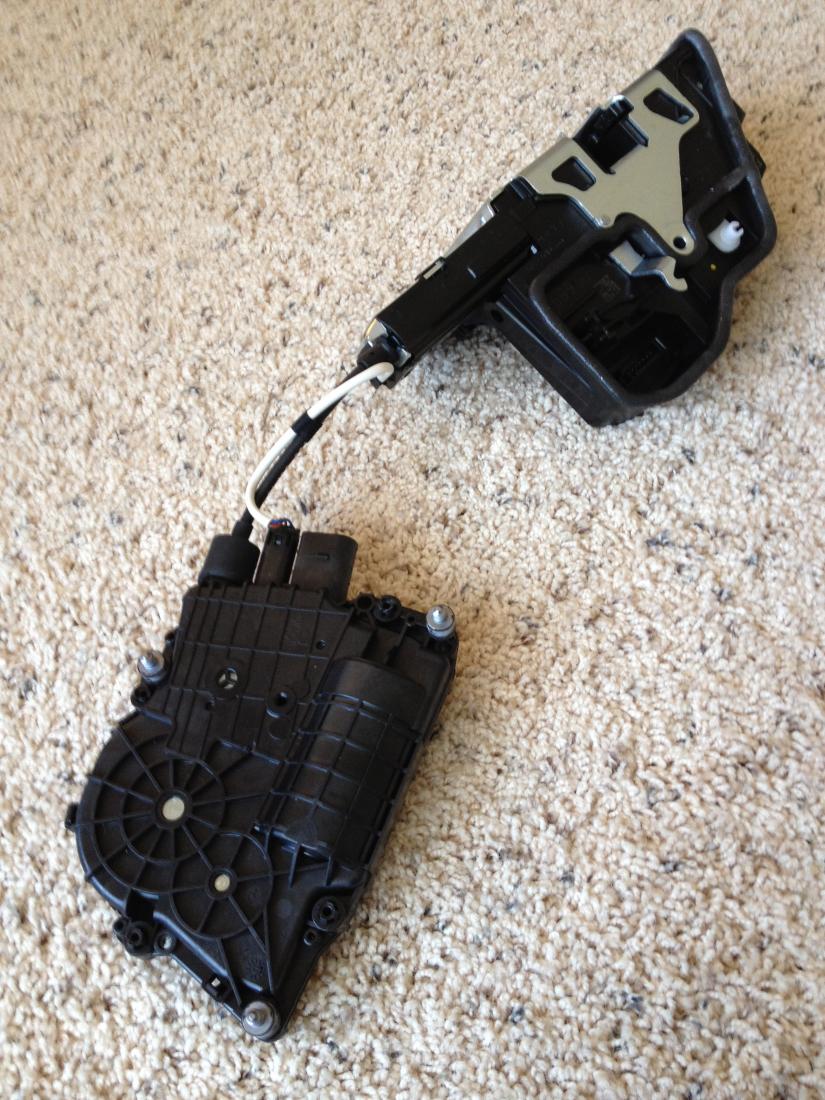
The list prices are only what I found on realoem.com, the real prices were cheaper on getbmwparts.com  I paid roughly $1,500USD for all 4 modules shipped to my house.
I started with the right rear door, as this is one I use the least, so if something went wrong having one door out of service would not really inconvenience me. The first thing to do is to remove the trim around the inside door panel. To do this youÂll need to use some sort of soft trim tool. Start on the side towards the back of the car and lightly snap it outwards. Pull open the door handle to make removing the rest easier; just gently pull outwards from the back and youÂll hear it snap out of place. I read somewhere that it is normal to snap a clip or two from this trim when removing it, and this was true for me. This same source, however, also said that the trim will still snap back in securely and this was also true.

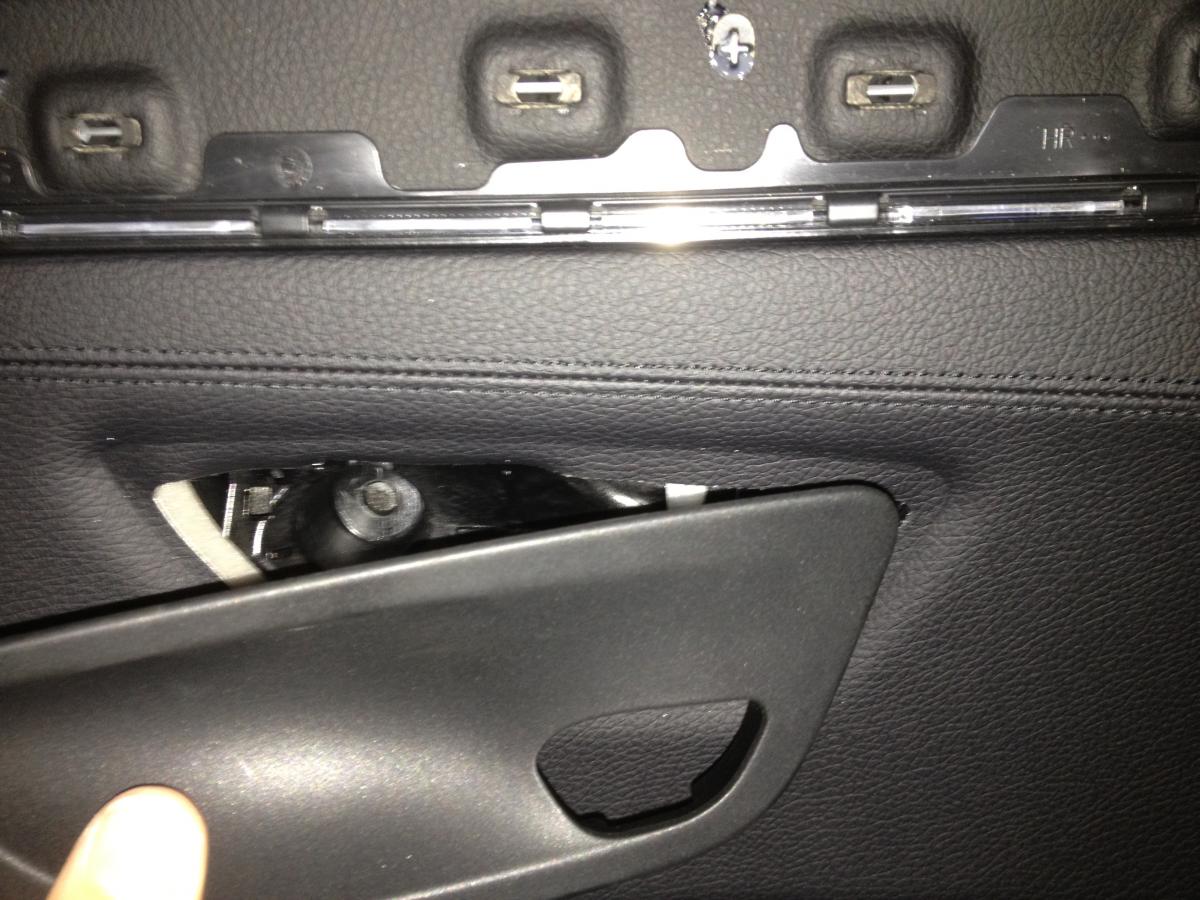
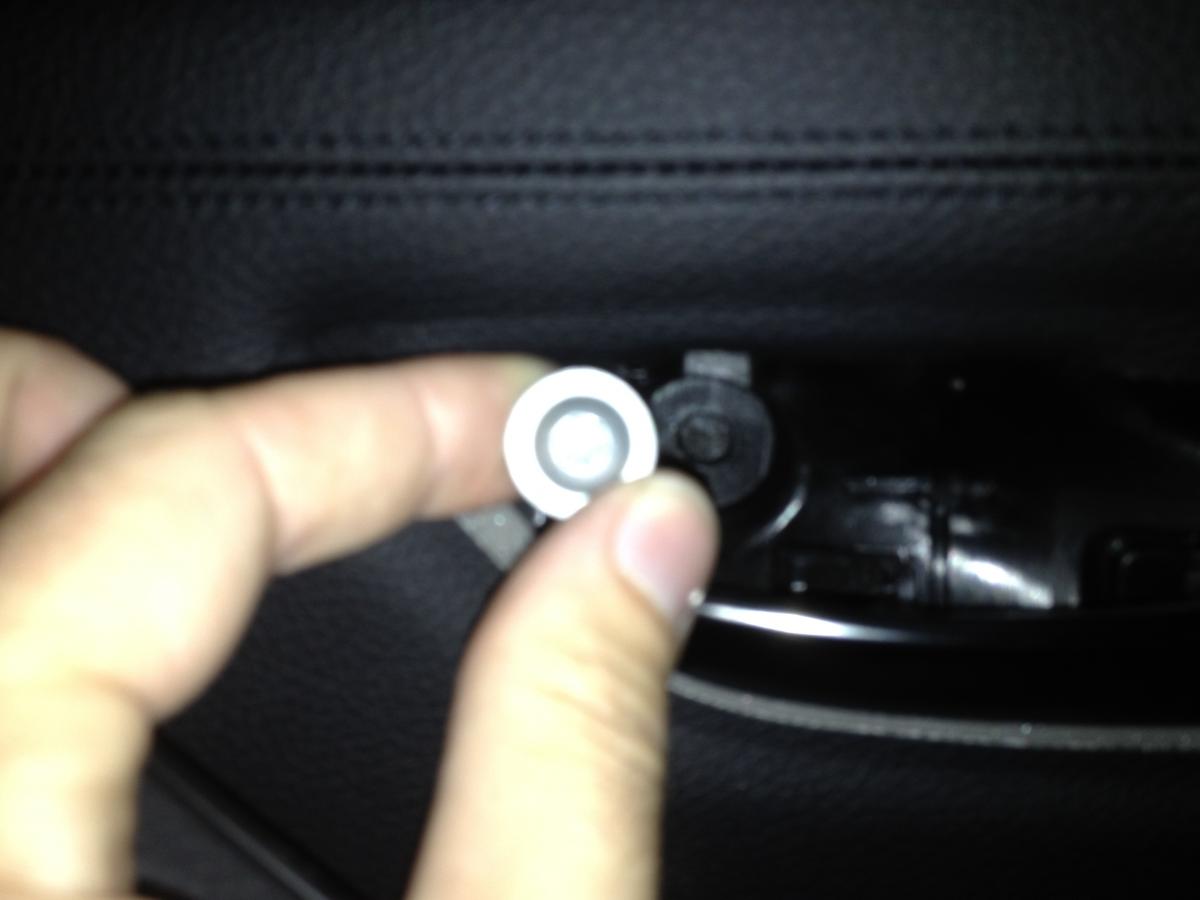
Once you have the trim off youÂll see a T25 torx bit sitting there. Remove that and youÂre ready to pull the panel off. Start at the bottom center with your trim tool and gently pry until you can get your fingers under the panel. Pull outward with short and deliberate force and youÂll feel the clips pull loose. Continue pulling around the sides until you feel the panel is separated from the door, with the exception of the top part.
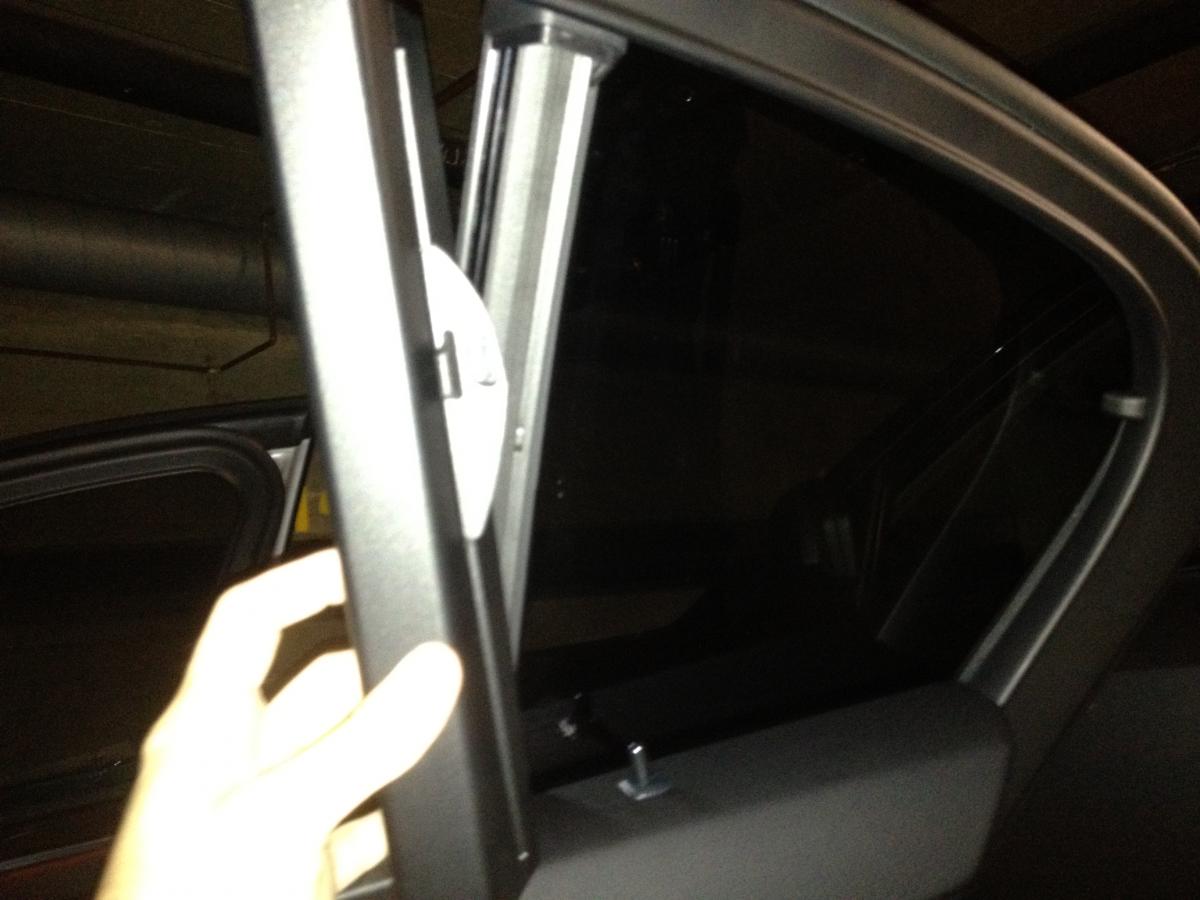
**SIDE NOTE: If you have rear shades, youÂll need to roll down the window and pop out the trim that carries the shade for the small back window before you can remove the door trim. It pulls out easy, when you look at it youÂll see, start on one side and then gently pull the other side loose and it will come right off.
Now that the door panel is ready to be completely removed, youÂll want to pull the panel straight up until you feel it come loose and then gently rock the top of the panel back towards you allowing the bottom of the panel to still rest against the door. YouÂll see a collection of wires attached to the inside of the door panel, and youÂll see the Bowden cable for the inside door handle. To remove the Bowden cable you just have to pull straight out from the side with the cable going into it. You canÂt miss this, itÂs white and in the way. When you have that side removed just let it hang and carefully unplug all the wires on the inside of the panel, as well as the anchors that attach the wire looms. Once all is removed put the door panel aside somewhere safe (I put mine in the trunk since I did one door at a time). Under the door panel youÂll notice there is a gray foam cover, this is weatherproofing and if youÂve never removed one of these before, get ready to have some fun. If you are doing this on a hot day and in a hot place, get ready for the mess to come because the sealant car manufacturers use to keep moisture out of the door is brutal. My advice is to do this part in the shade  I had no choice since I park underground in an apartment complex. YouÂll see that the gray foam piece has splits in it to allow the wires through; this is a great place to start removing. I chose to use a razor blade to cut through the sealant, all I did was gently pull back on the foam and as the sealant started to stretch, I sliced it in the middle with the blade. This method works great for me because I like to have the sealant on both sides for when I reassemble the door. Slowly go all the way around, do not rush this step because if you get that black stuff anywhere it is not supposed to be youÂll waste a lot of time cleaning it up.
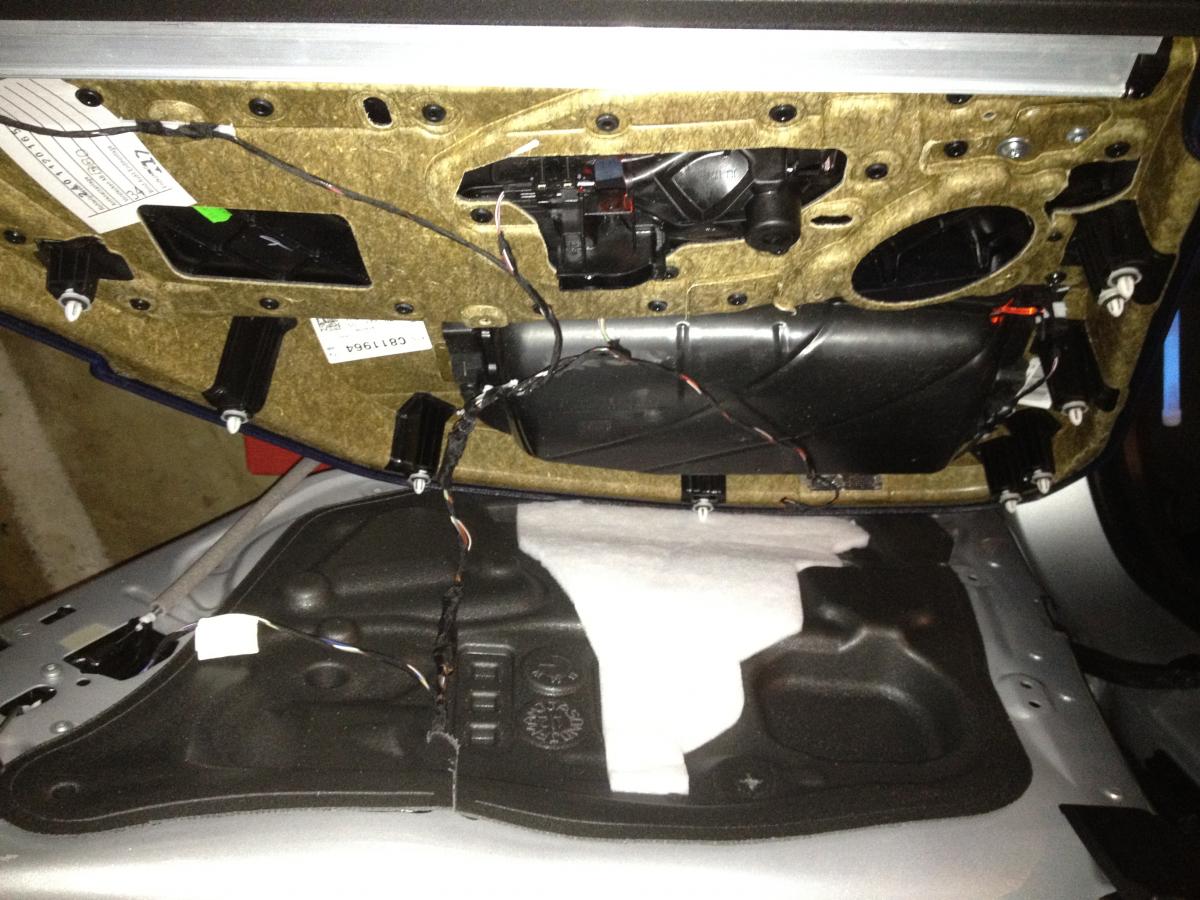
Now that the inside of the door is fully exposed itÂs time to get to work. You have a few tasks to complete:
1) get your wire inside of the door through the loom
2) remove the original door module
3) replace it with the soft close door module
I started with the wires because if that goes wrong, the rest is pointless. To open the loom that goes into the door youÂll need a 8mm socket and preferably a ¼ ratchet. Where the loom meets the body of the car youÂll see a bolt, remove that and pull up and out to free the wires. There is a clip youÂll have to remove to separate the harness so you can run wires through it. From this point there are two ways to go about getting the new wires ran. The quick way is to run the wire through what appears to be an empty MOST-bus port in the harness, the second would be to order the proper connectors and splice each end of the wires to each end of the connector. I did it the quick way.


YouÂll have to remove a good deal of trim from the inside of the car, the trim at the bottom of the doors, the bottom of the rear seat (for ease of running wires) and the side trims from the B pillar. Run the wire, connect it to the module (how you do this is up to you) The OEM connectors appear to NOT be available unless you buy the entire wiring harness for the door  however if you are doing this retrofit, I will assume you are clever enough to improvise on this step.
The front doors are a little more challenging to wire and remove. On these doors you have to remove the wood (or whatever you have) trim. To do this, just pull straight out lightly from the end towards the front of the car. It will only come out about ¾ at first, keep pulling along the trim until it has come out that far all the way down. Once youÂve gotten that far youÂll need to locate the silver metal clip towards the front part of the trim  you need to somehow compress this to remove the trim. Many people on the forums have done this so I am sure they can chime in with a more detailed explanation, but trust me it is easy. When you have the wood trim off youÂll notice another T25 torx bolt is now exposed, remove this as well as the one behind the inside handle trim and you are ready to remove this door. Here is where the new complication beginsÂ
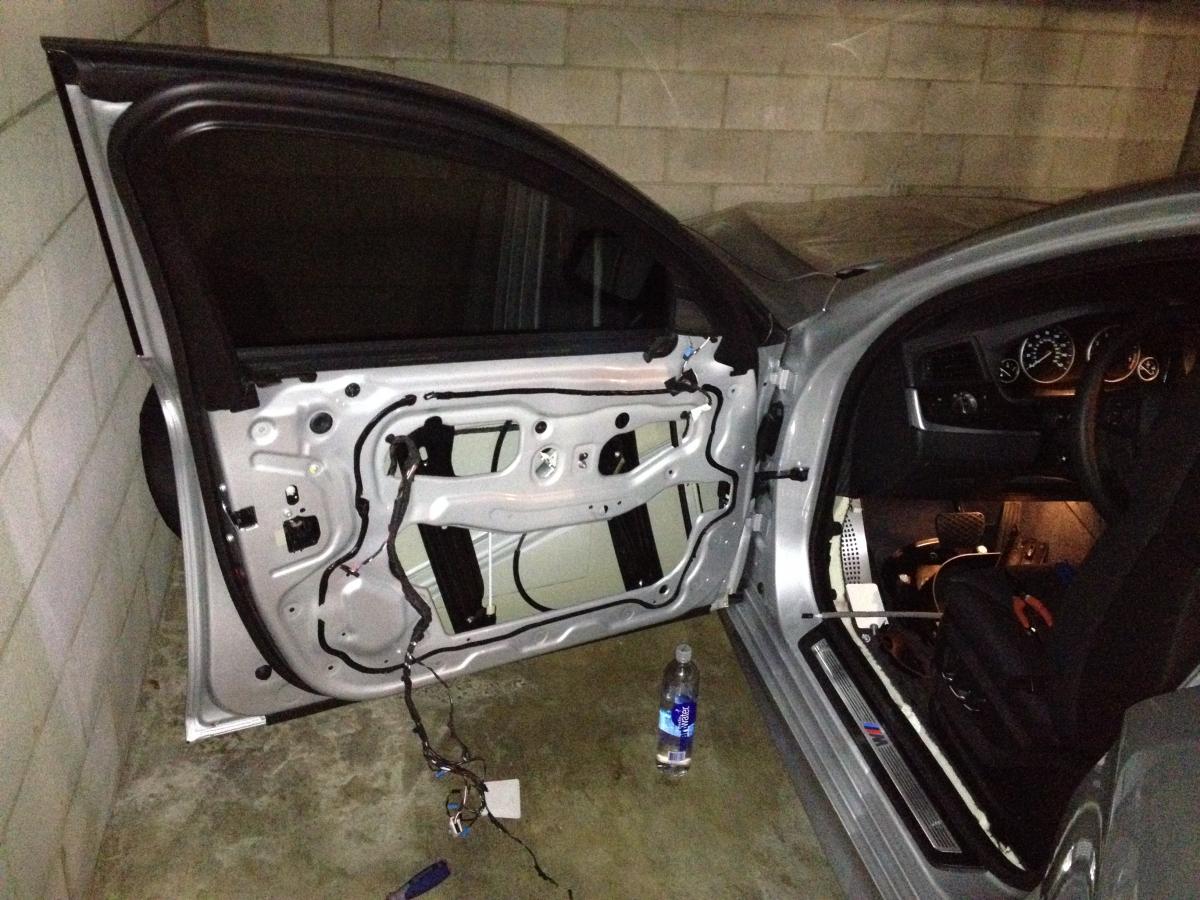
If your car did not come with factory soft close door modules youÂre kind of stuck right now. Inside the door, in the bottom outside corner youÂll notice a wedge of foam, or what BMW calls a Âcrash padÂ. If it was called anything else in the English language I would have torn the whole thing out because as it sits, it completely blocks two of the 3 holes needed to bolt the motor section of the new door module. This caught me off guard so I immediately went to realoem.com where I found the part numbers for the appropriate crash pads. The part numbers are: 51717196757 and 51717196758. As you can imagine this obscure part is not in stock anywhere in the US, nor is it even in most BMW dealerÂs computers. Since I have a good relationship with my parts guys they were happy to waste 30 minutes for $40 worth of parts and they added the part numbers to their catalog and ordered them for me. It will take a minimum of 15 working days to get them.
I decided that there has to be a way around this, so although it isnÂt possible to remove the pads without taking out the entire window assembly, it is possible to take out the one torx bolt that holds it down and examine it. I noticed that one side of it was just filler on the other side of a ridge  hardly structural, so I used a serrated kitchen knife to trim the piece down. This took some time because all you can do is hold it in one precarious position at a time and trim off about an inch or so per position. Make sure you do not cut off the round white plug that allows this trim to be secured to the door, just cut along the bottom of the valley in the material and youÂll have plenty of room. I am not a structural engineer, so for all I know I completely compromised my side impact safety  in other words DO NOT DO THIS. But after you do, youÂll be free to proceed as you have for the other doors.

The other catch to the front doors is that there is a module mounted behind the kick panels on either side of the car, they are held in place with 10mm nylon bolts on the top and bottom of each. To get to these bolts youÂll need to remove the kick panels, knee airbags (do not unplug them!) and the footwell trim. Once you get all of this out of the way you can remove the module and there is a very clear path from the back side of where the door loom comes into the vehicle.
Once you have all 4 doors done and wired up, youÂll need to get the wire to the trunk on the right side of the vehicle where the main accessory power distribution panel (aka fuse box) is. Hooray for BMW, they really nailed it with this design. Take off the sides of the back seats, pull hard straight out from the top and then pull the bottom up and they will come right out revealing a wire conduit/tunnel leading right to the trunk! I was so happy to see this, and with a coat hanger I had my main power and ground wires running to the right side of the trunk.

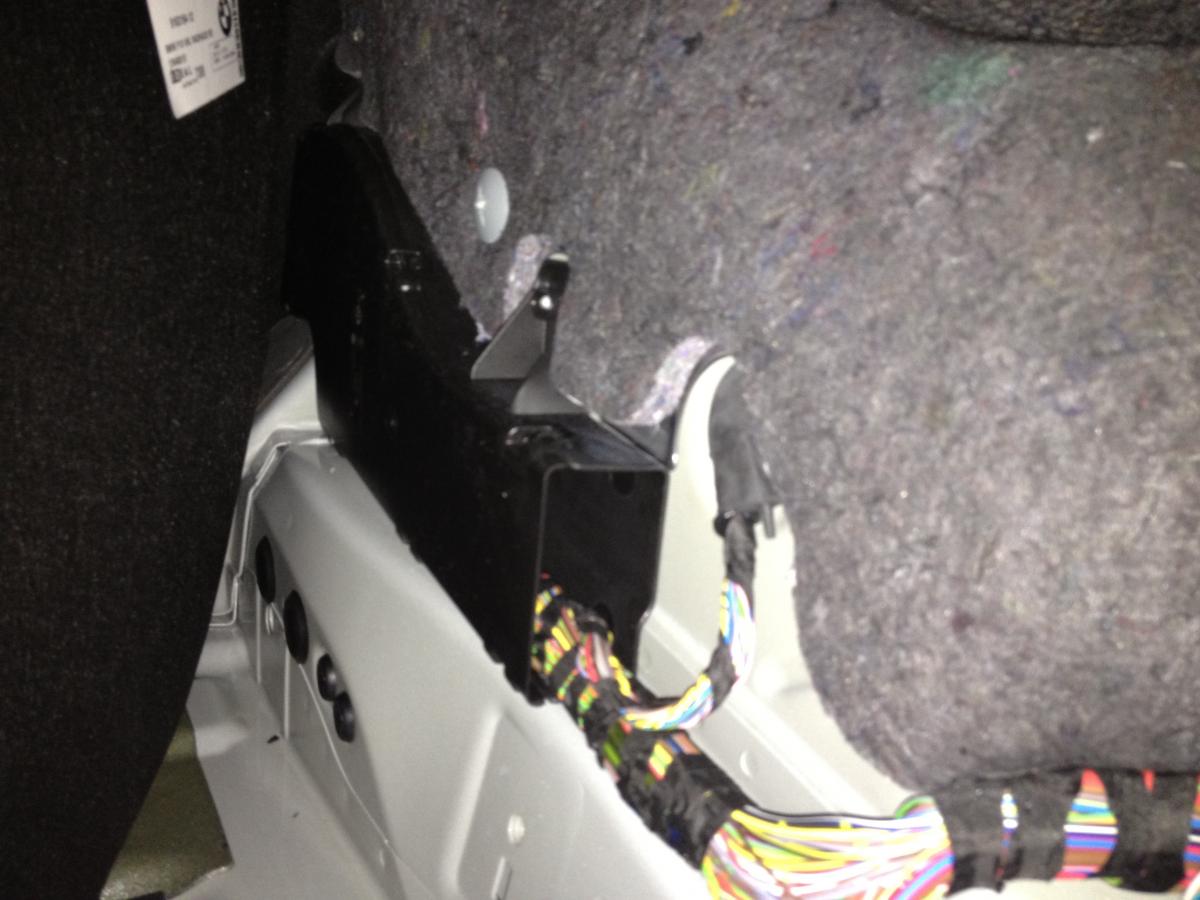
Now I had to remove the flooring and right side panels of the trunk to fully expose the fuse box. I removed the fuse box by taking out the 3 (10mm I think) bolts that hold it in. From the back I could clearly see that a lot of the fuses are connected to nothing.
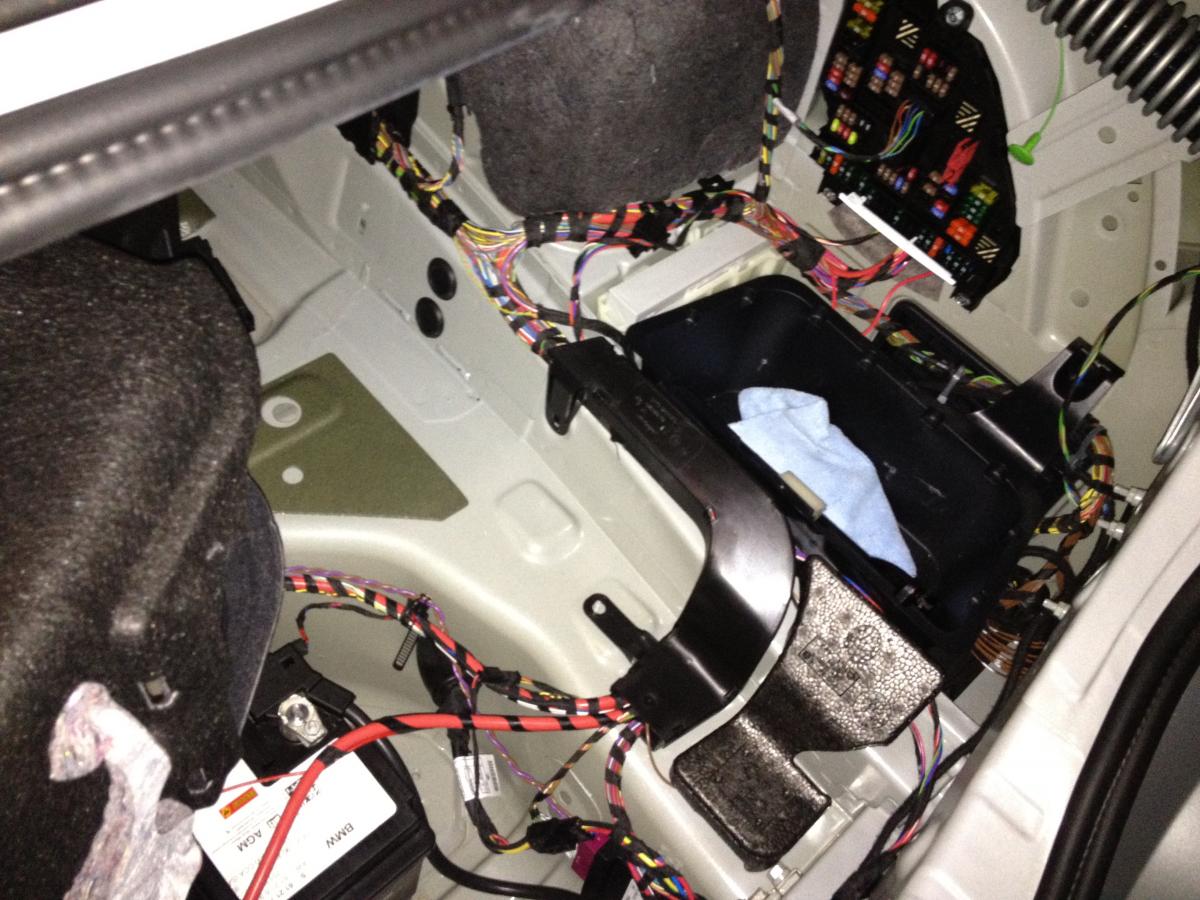

Because of the connectors and end terminals I have in my tool box I was only able to connect to one of the smaller type fuses, I chose a 15A and once I get to the BMW parts dept. I will buy a bigger connector because I personally believe these modules should have at least 35/40A. According to WDS for the E60 each side of the car should be wired together and be fused separately, I did not do this (or havenÂt done it yet). I just wired all the power and ground wires respectively to each other and a long wire to each junction to run to the trunk. Some day I will change this but once I tapped into ground and plugged the positive wire to the back of the unused fuse, all the door modules came to life. Each door works exactly as it should and once I tucked/tied all the wire away you would never know it did not come from the factory.
Please ignore the heavy breathing in this video, lol. Yesterday I pinched a nerve in my lower back and every move today was excruciating.


 My first F10 retrofit - Soft Close Doors


